Exercise (Session 3): Using the Plate Editor
Exercise Objectives
In this exercise, you will:
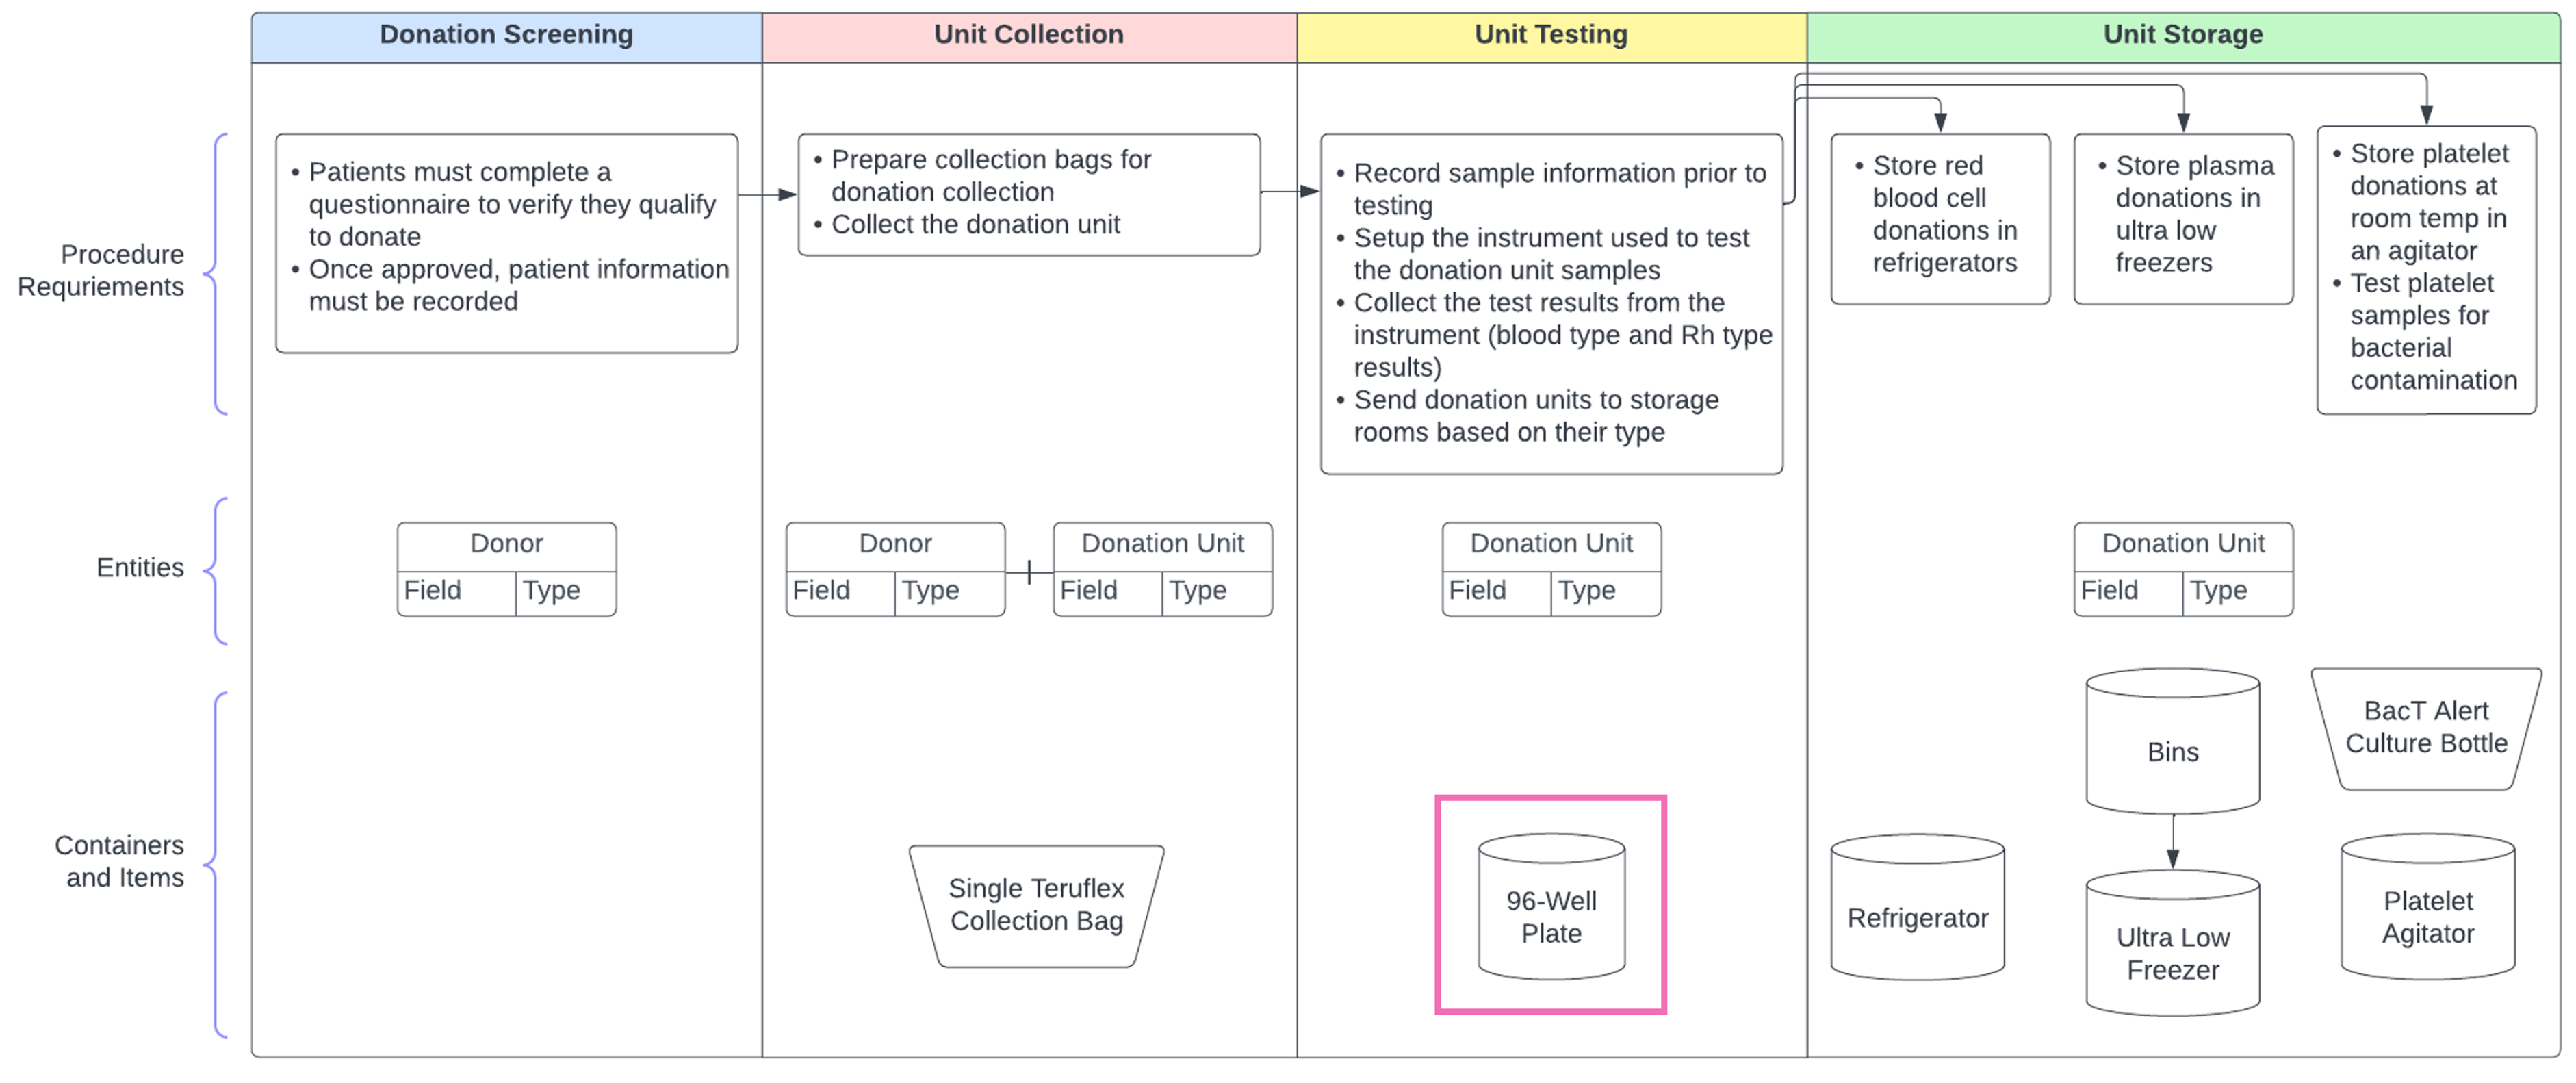
Create six (6) new Donation Units in the Entities app.
Use bulk options to add and remove Donation Units to the 96-well Plate in the Location app.
Where we are now

Note
The 96-well plate Container Type is pre-seeded into your L7|ESP training instance.
Scenario
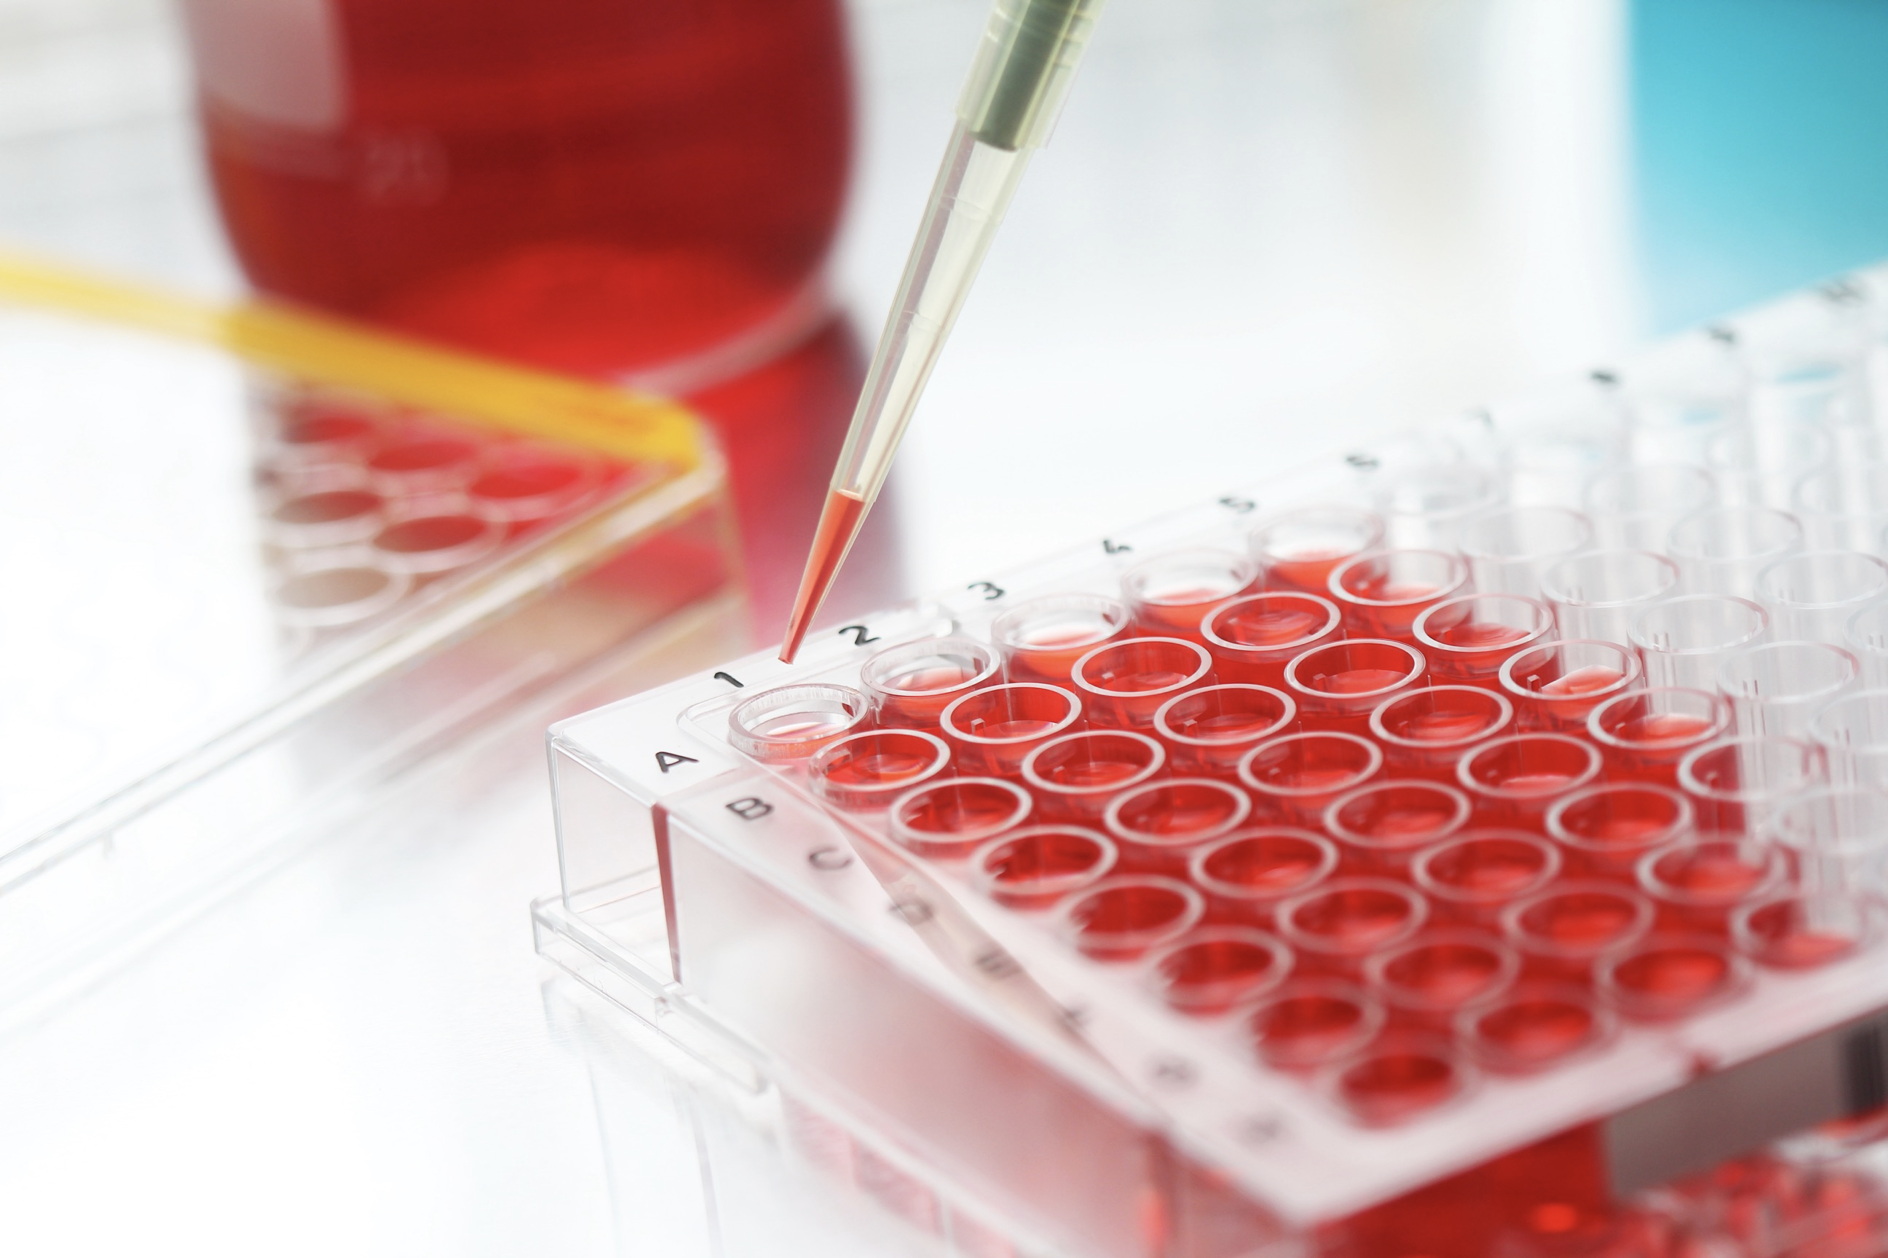
After blood donations have been collected, the lab technician will test each Donation Unit to determine its blood group and Rh factor. To do this, a small amount of the donation is moved to one of the wells on a 96-well plate and processed on a Blood Analyzer instrument.
 |
Your Task
Part 1: Navigate to the Entities app and create six (6) new Donation Unit Entities. You do not need to define any of their metadata.
Part 2: Navigate to the Location app and open BA Plate 001. Add the 8 Donation Unit Entities you created with your custom Entity ID Sequence to the Item Pool.
Note
If the Item Pool already has resources displayed, clear it before adding the Donation Unit Entities.
Practice adding these Entities to the 96-well plate using the column bulk option.
What happens when you try to add the same 8 Entities using the row bulk option?
Use the rectangle bulk option to add 3 of these Entities in triplicate.
Practice removing Entities from the 96-well plate individually and in bulk.
 How do you bulk add resources to a single element Container?
Select the locations inside the Container using a bulk option. Next, select the resources from the Item Pool, then drag and drop the resources into the highlighted Container locations. Resources can be added left to right or top to bottom.
Questions:
Why are some Container locations displayed as circles, and others rectangles?
Why can’t you add Items to the 96-well plate?