Creating Entry Templates
Overview
L7 Notebooks serves as a customizable document editor of L7|ESP. Notebooks can be used for any kind of organizational grouping intended, such as a collection of projects, a set of a person’s data, a month of journals, etc. These Notebooks each consist of Entries, which are the individual items of whatever the Notebook grouping represents. For consistent, unified formatting between Entries, you can create Entry Templates.
Managing Templates
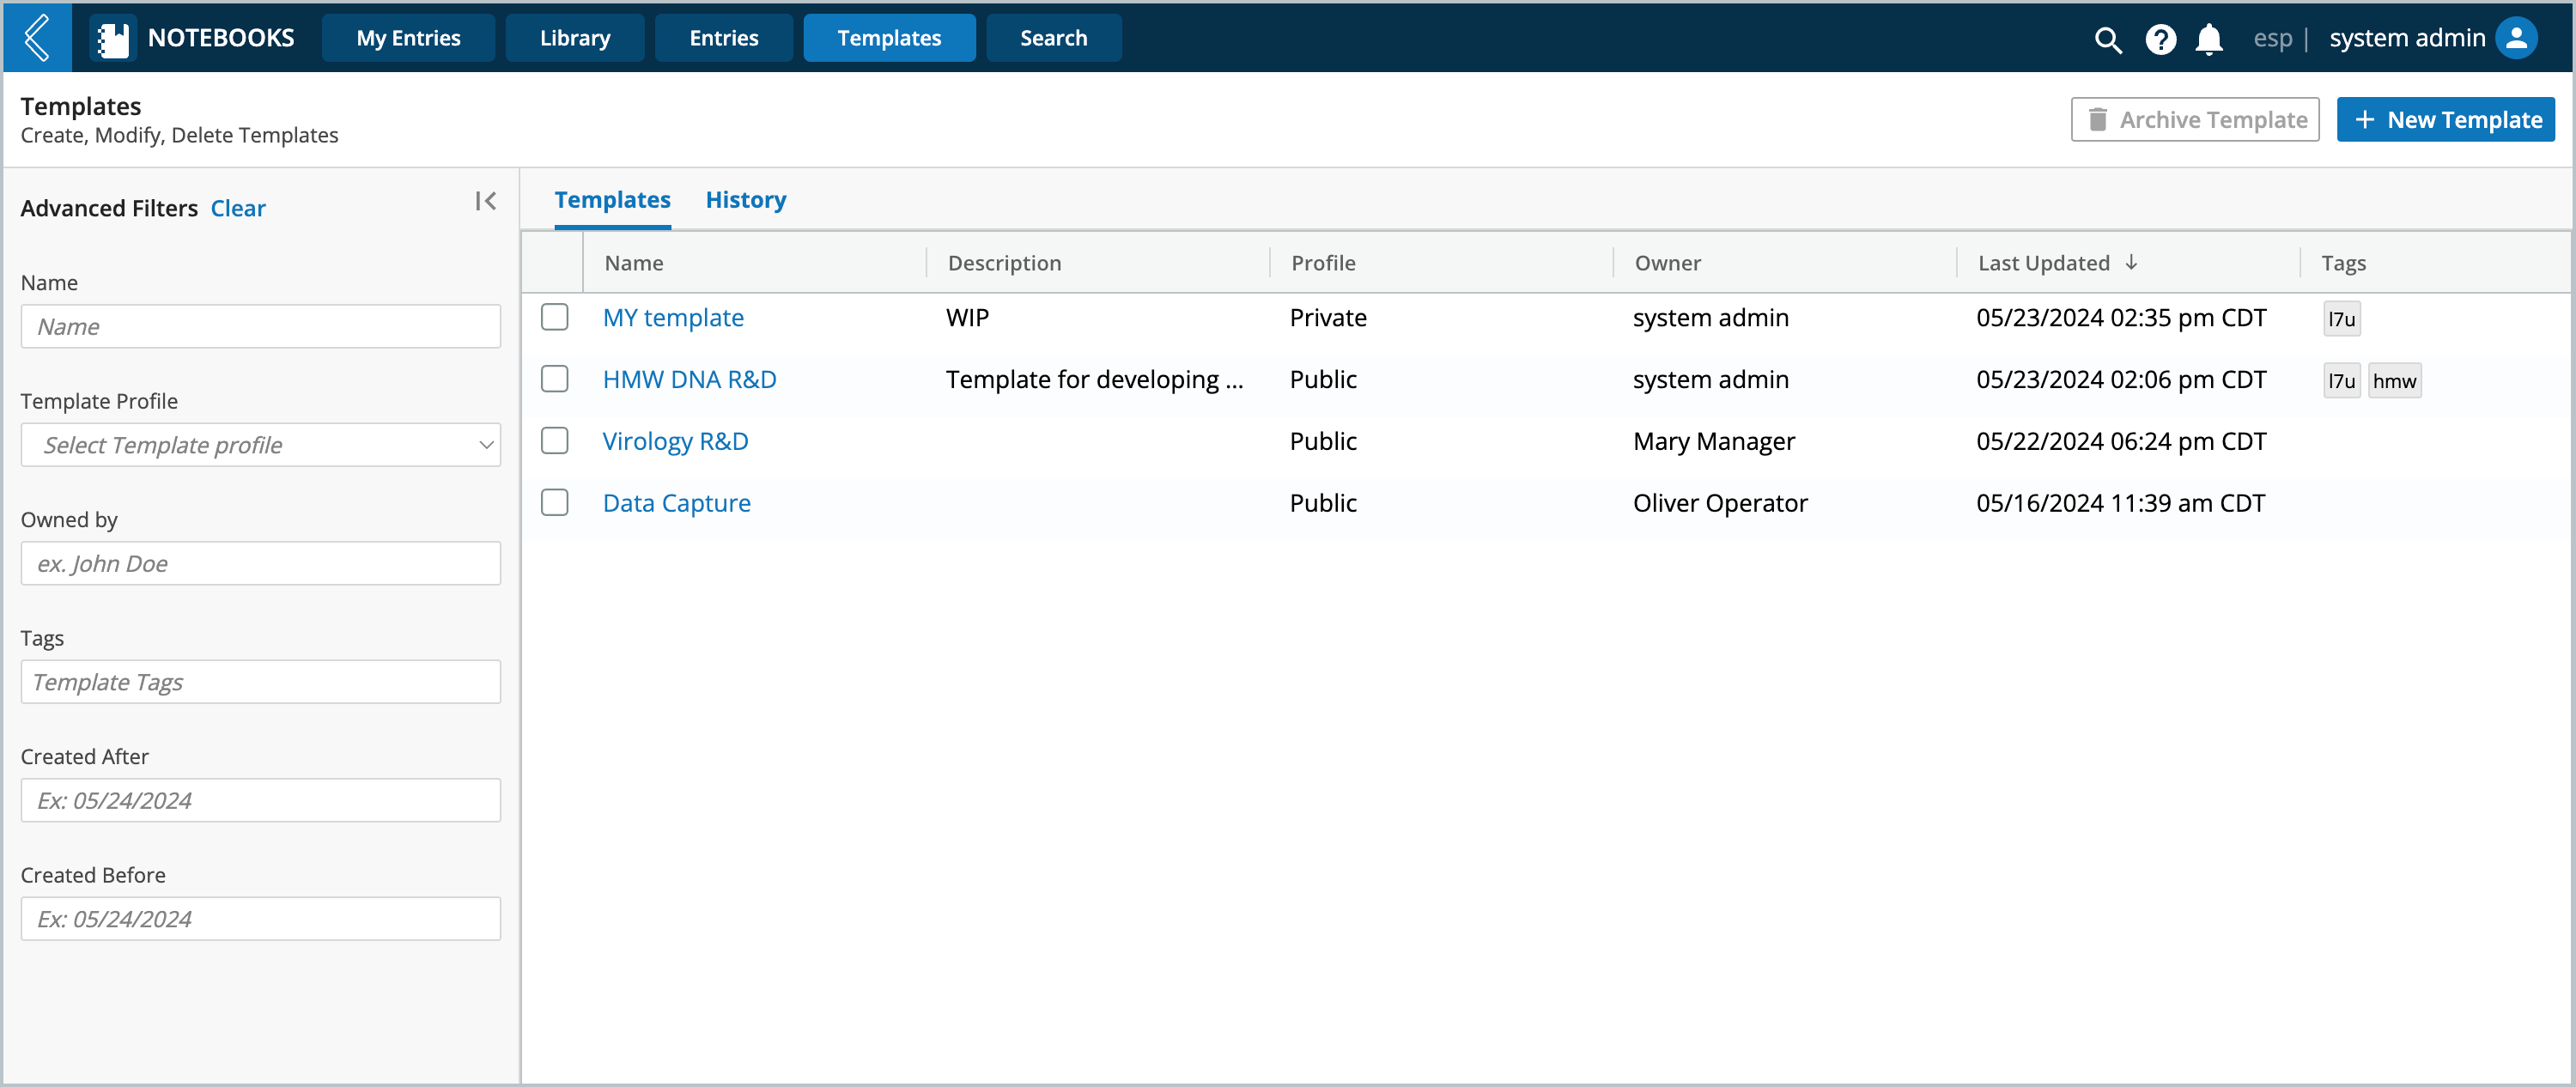
From the Templates landing page you will see a list of all existing Templates you are the owner of and that are public.
The Templates tab can be used to view a list of existing Entry Templates, search through, filter, manage and create new Entry Templates, if needed. Entry Templates are used to create Entries using a pre-defined, consistent format to keep the structure standardized and to avoid duplication of effort in Entry creation.
The History tab on this page displays the audit trail of user activity on the Templates page for all updates to Templates.
 |
Creating Templates From Scratch
Procedure
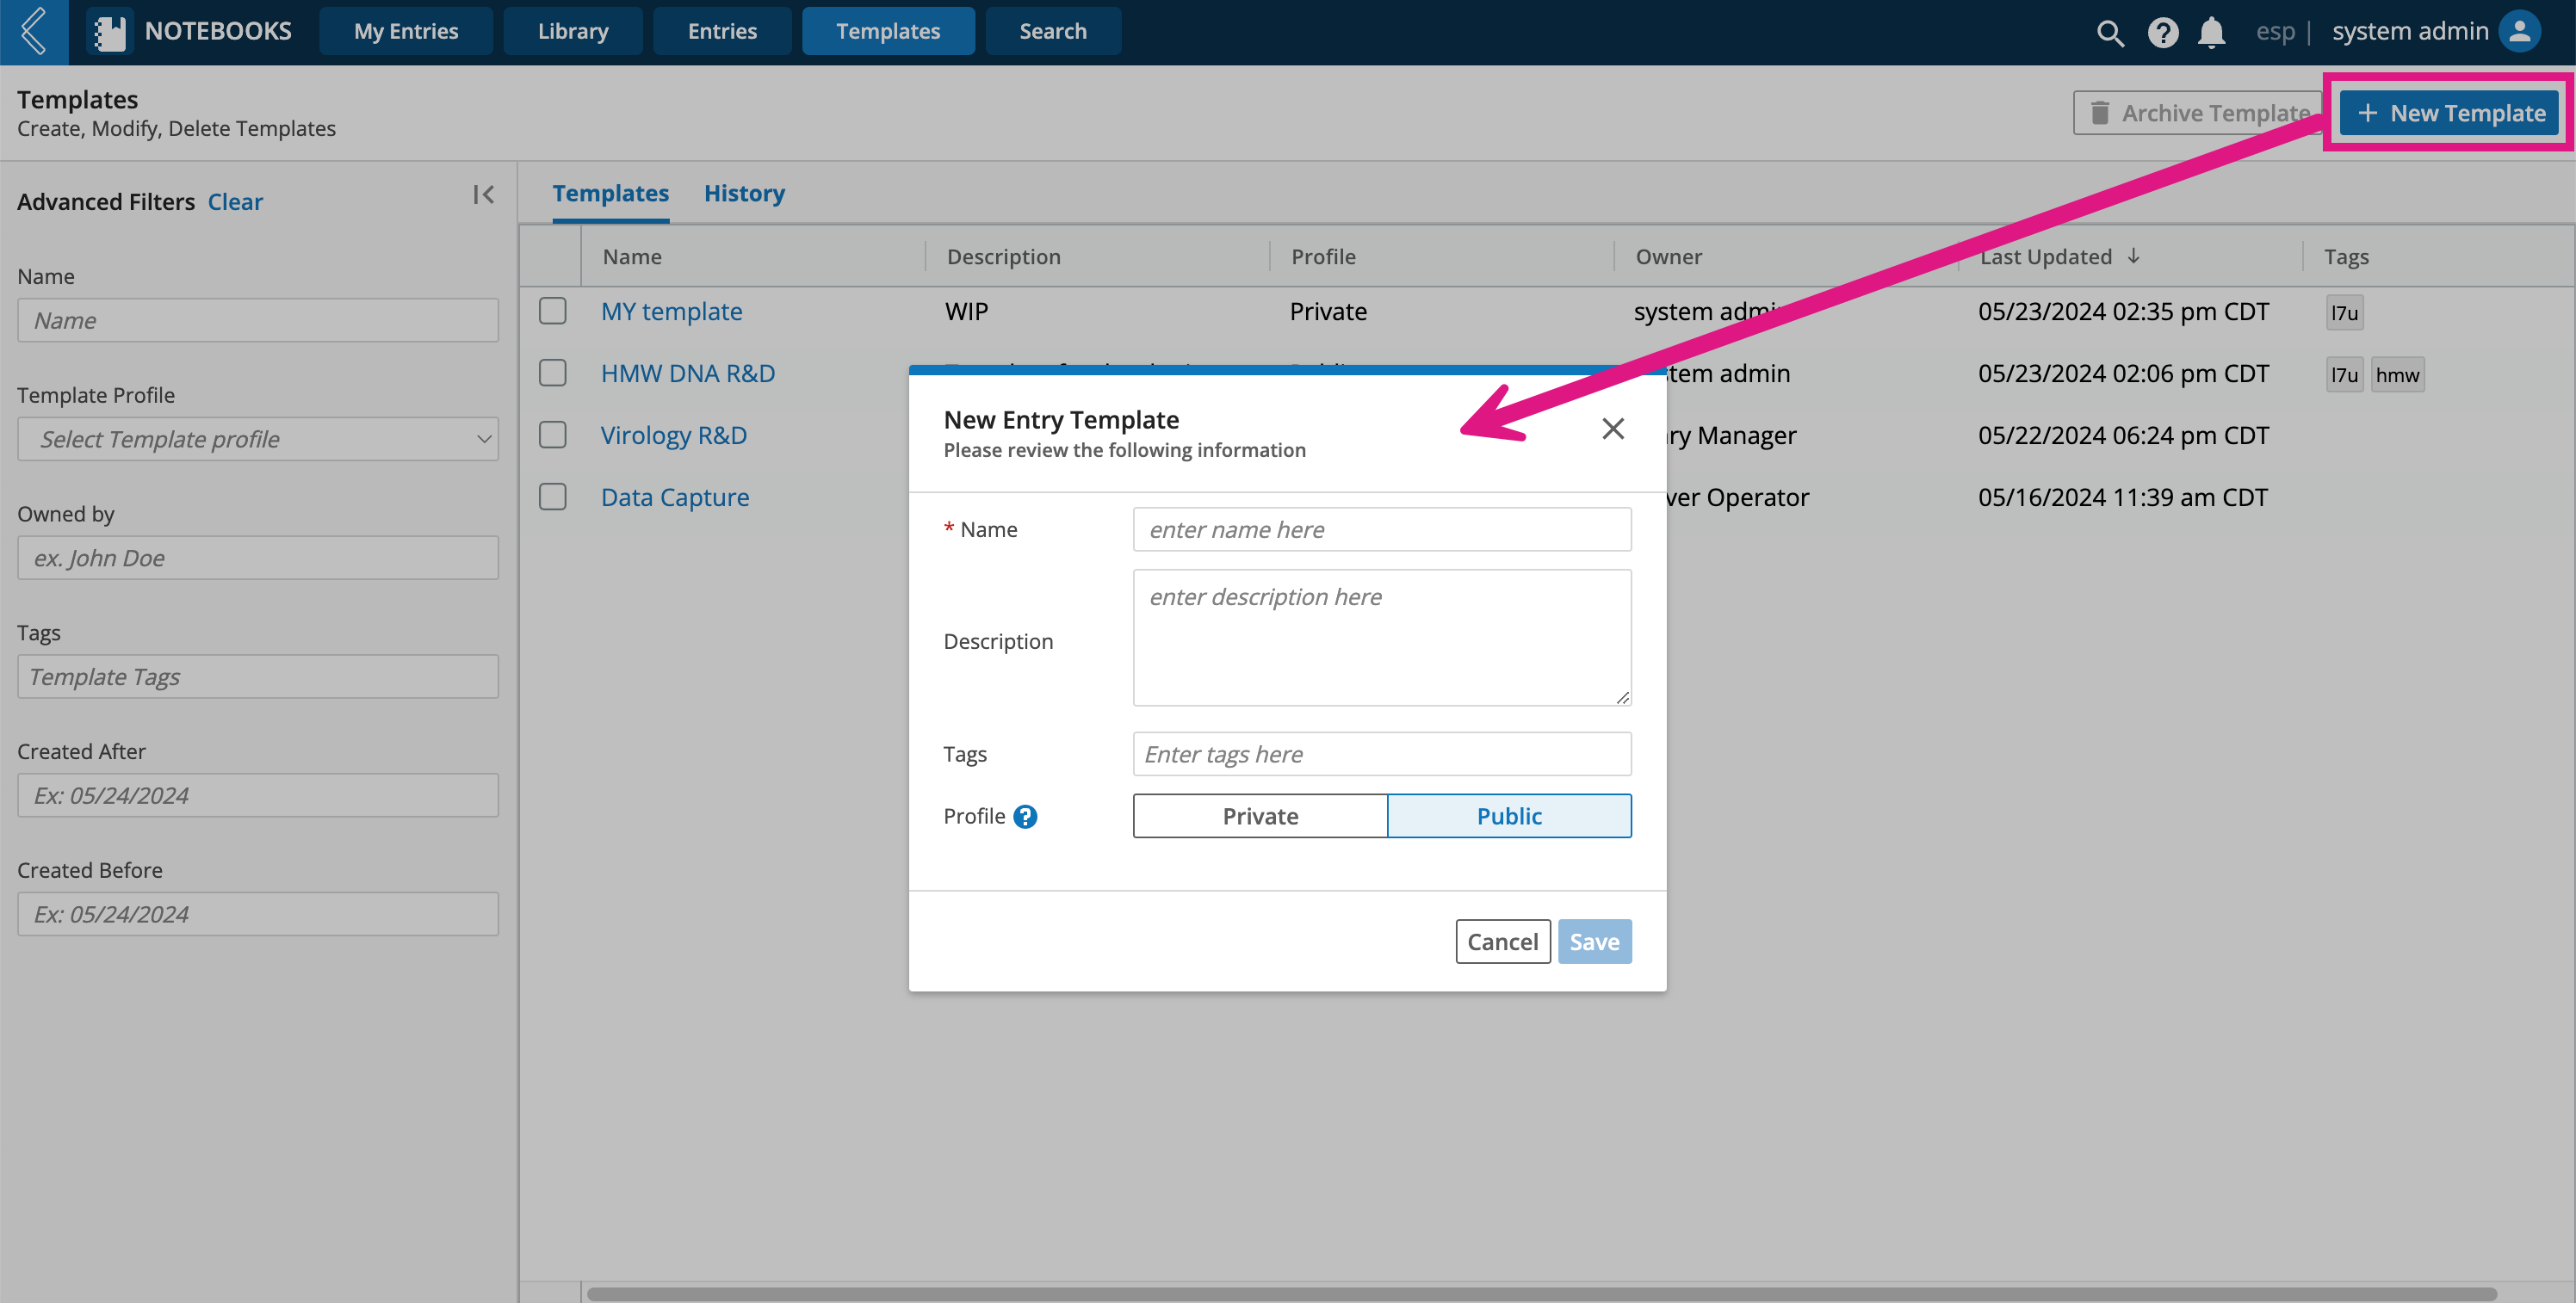
Go to the Templates page
Click + New Template
Enter a Name
Optionally provide a Description and Tags
Set the Profile as Private (only available to the Template owner) or Public (available to all users)
Save
Note
Profile settings (private/public) can be changed from the Template Details panel.
 |
Adding and Moving Widgets
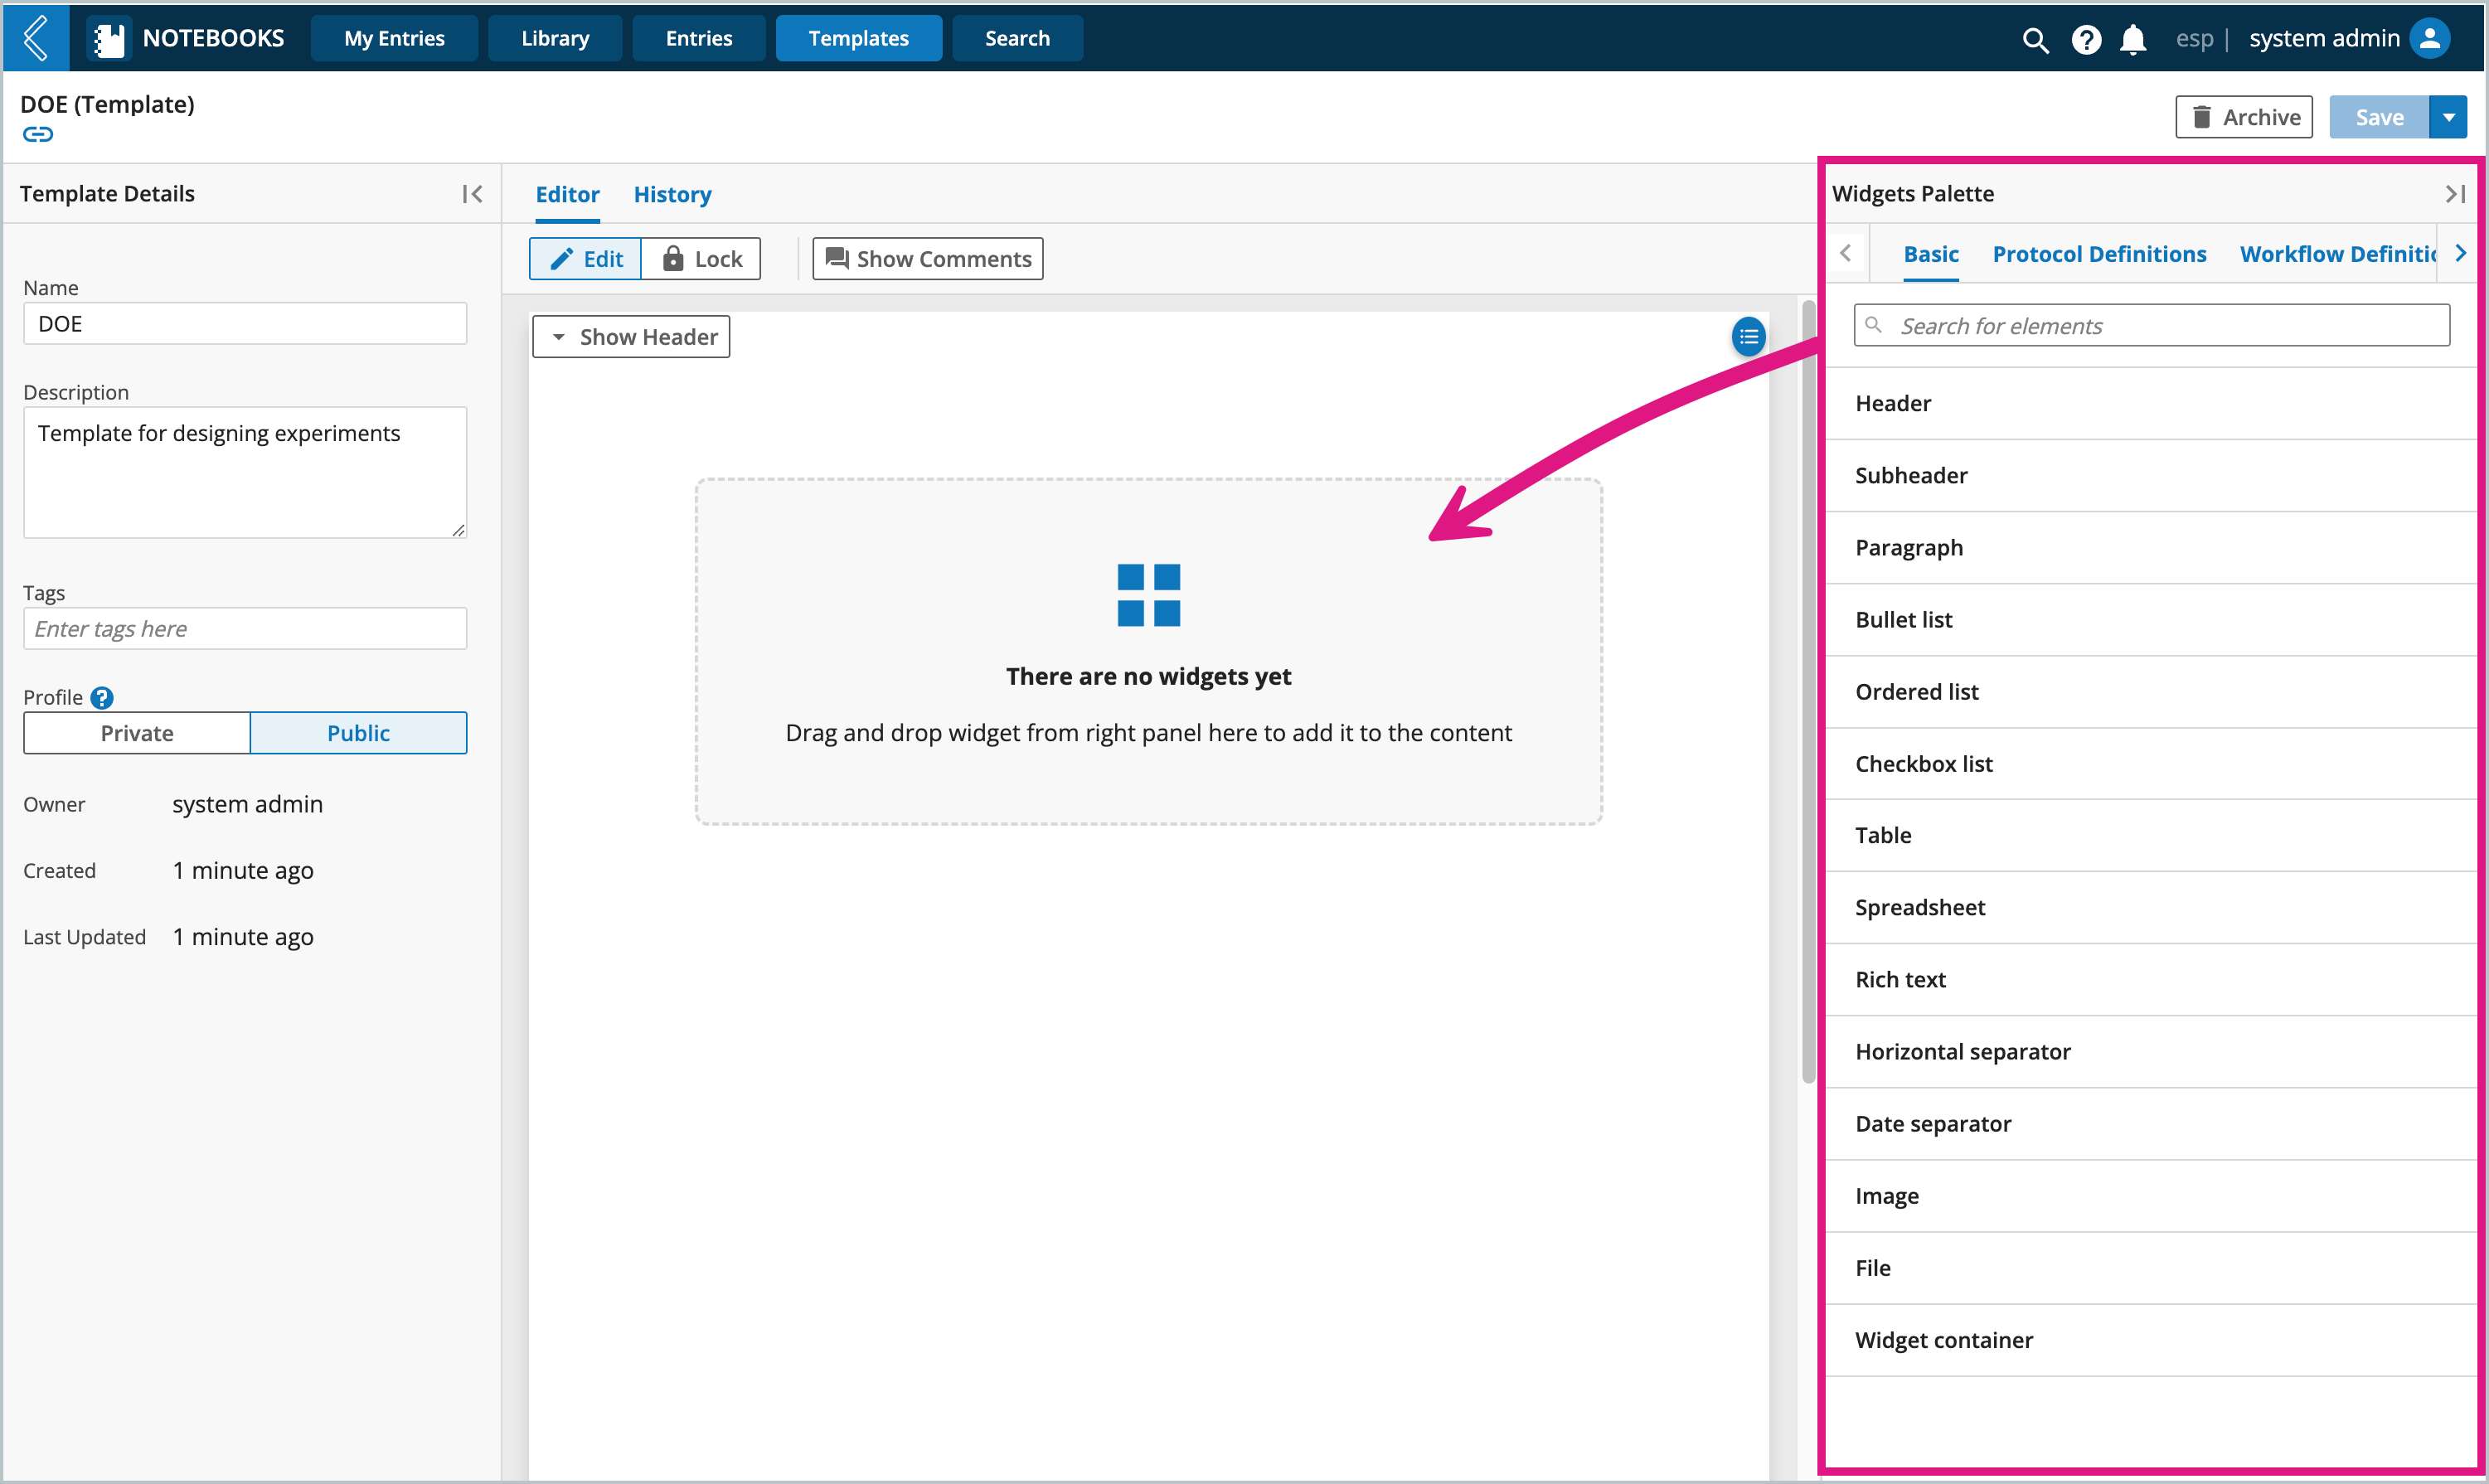
New Templates will have a blank page, simply drag and drop any of the widgets from the Widgets Palette onto the page. Widgets can be easily moved around to create the desired layout, hover the cursor over the far left side of the widget to activate the widget’s move panel.
To learn more about using widgets, see Creating Entries and Using Widgets.
 |
Creating Templates From Existing Entries
Any existing Entry can be used to create a Template.
Procedure
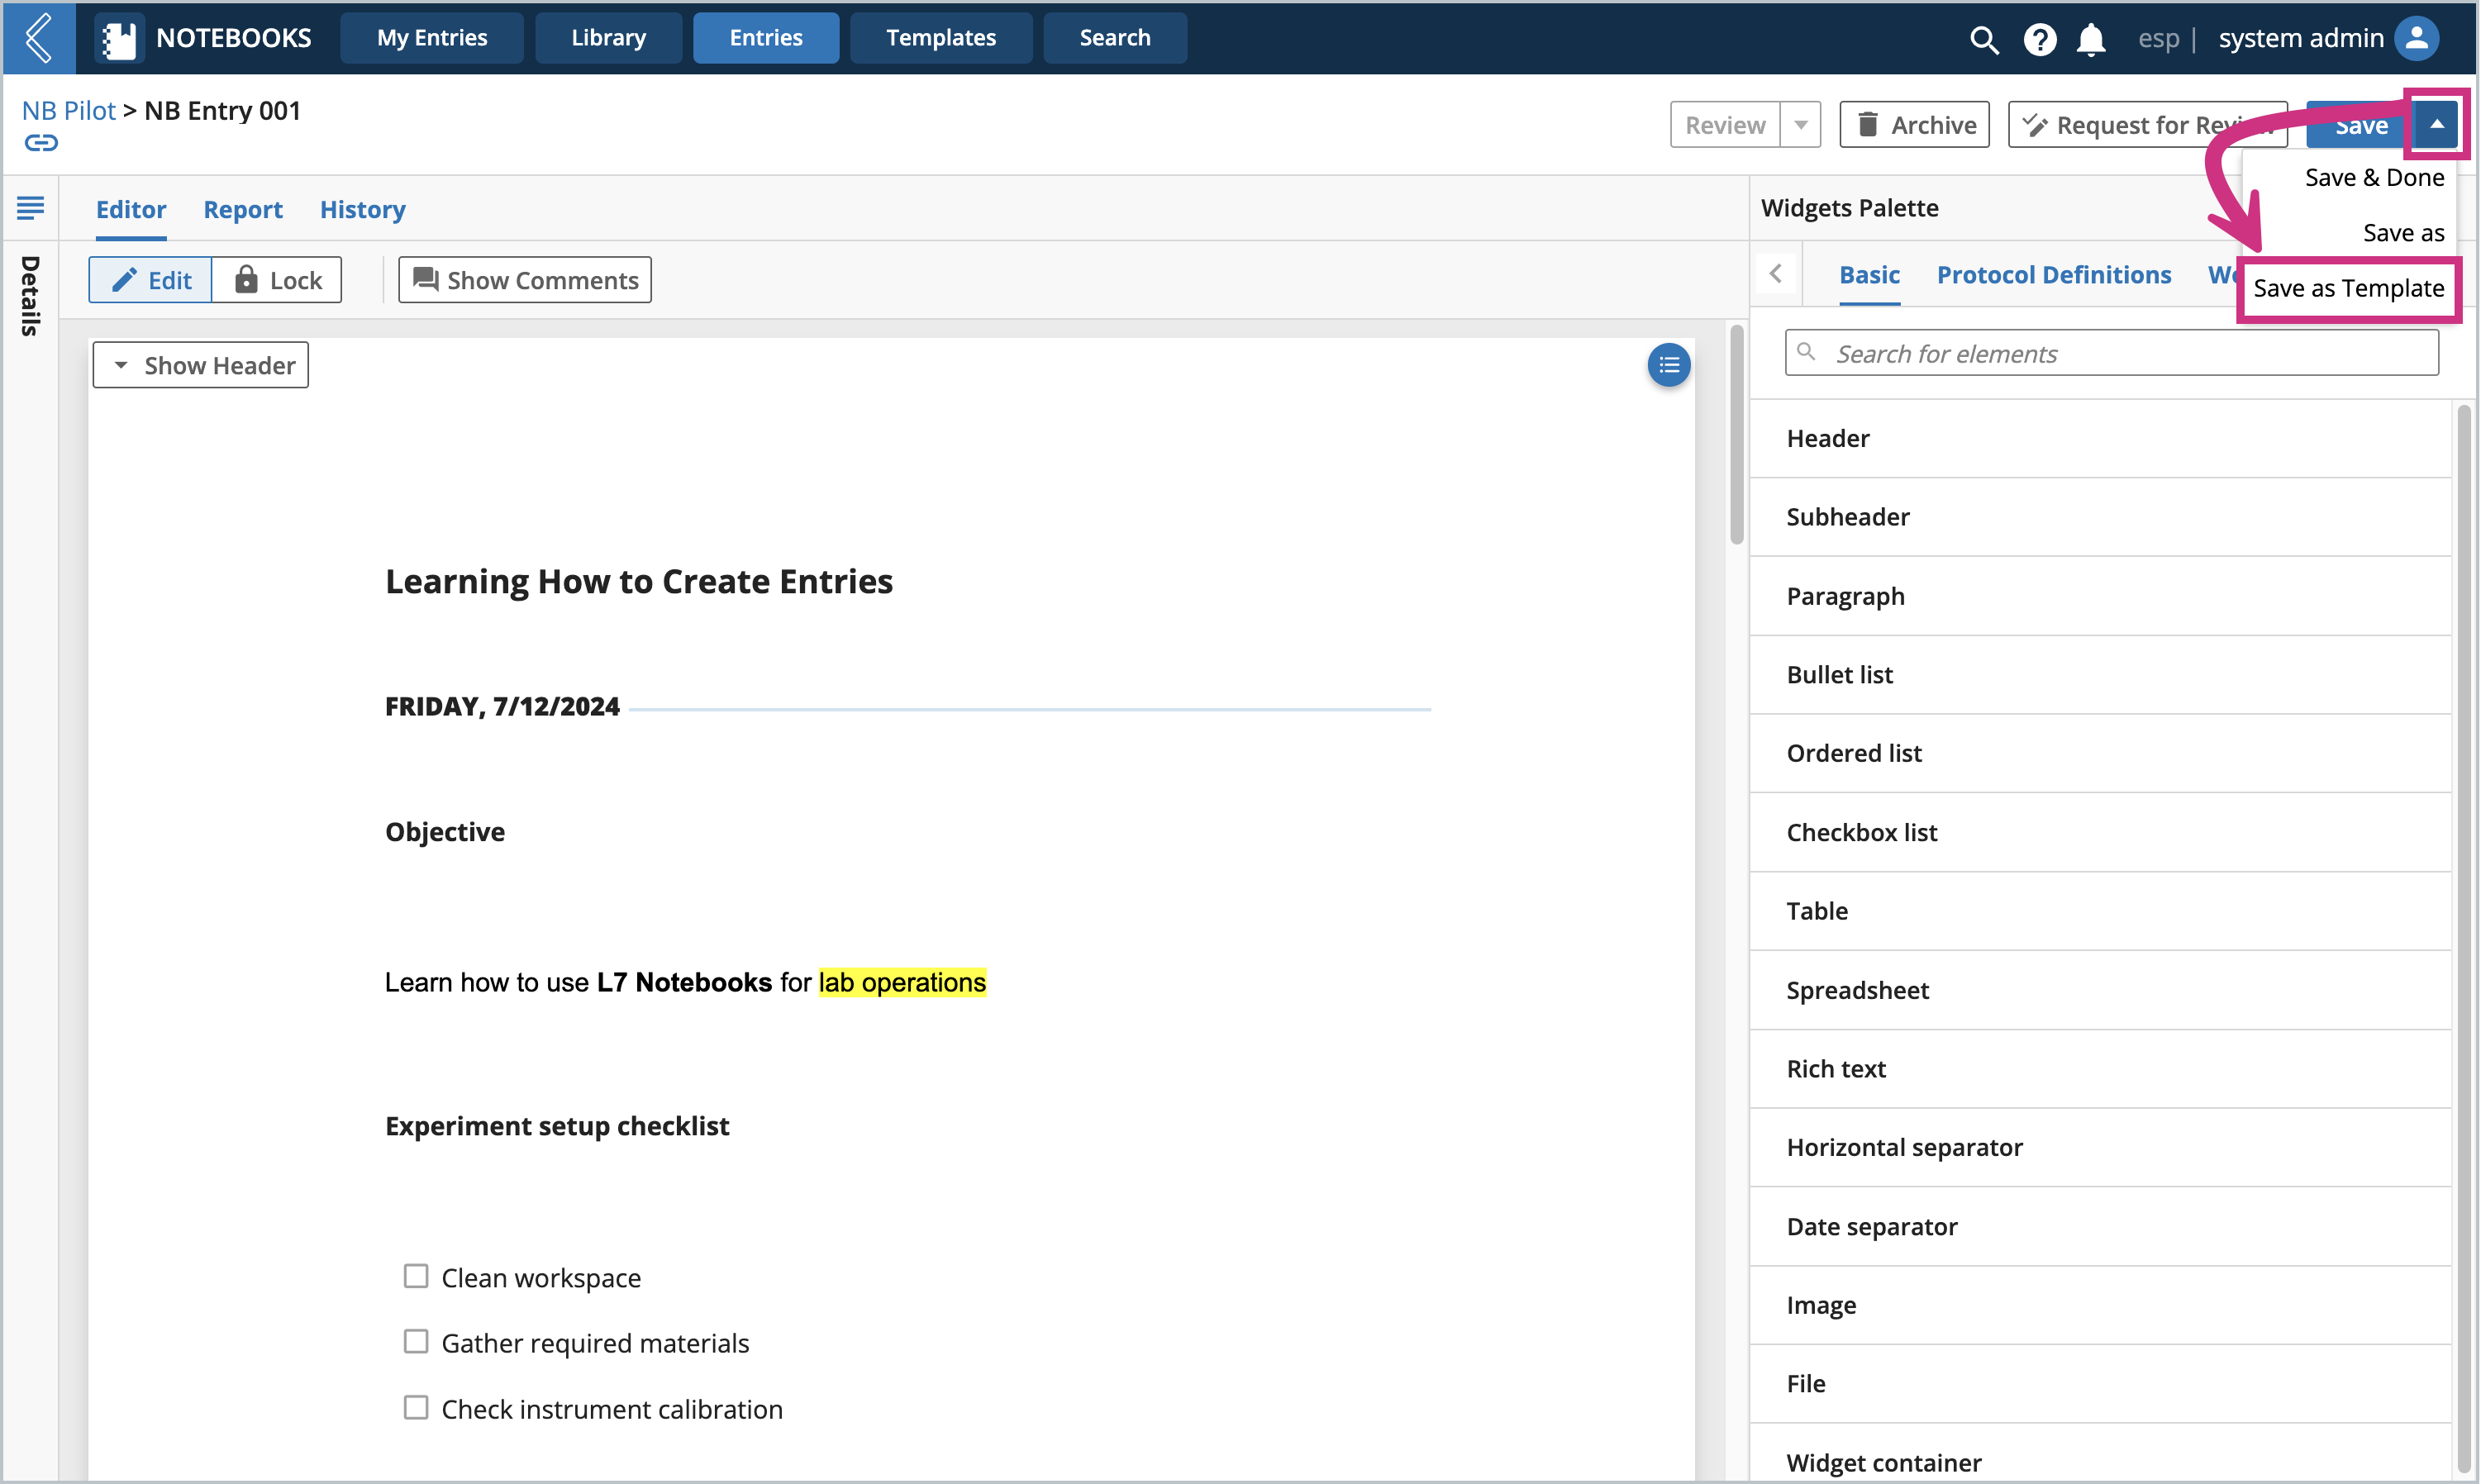
Go to an existing Entry’s page
Click the arrow next to Save
Click Save as Template
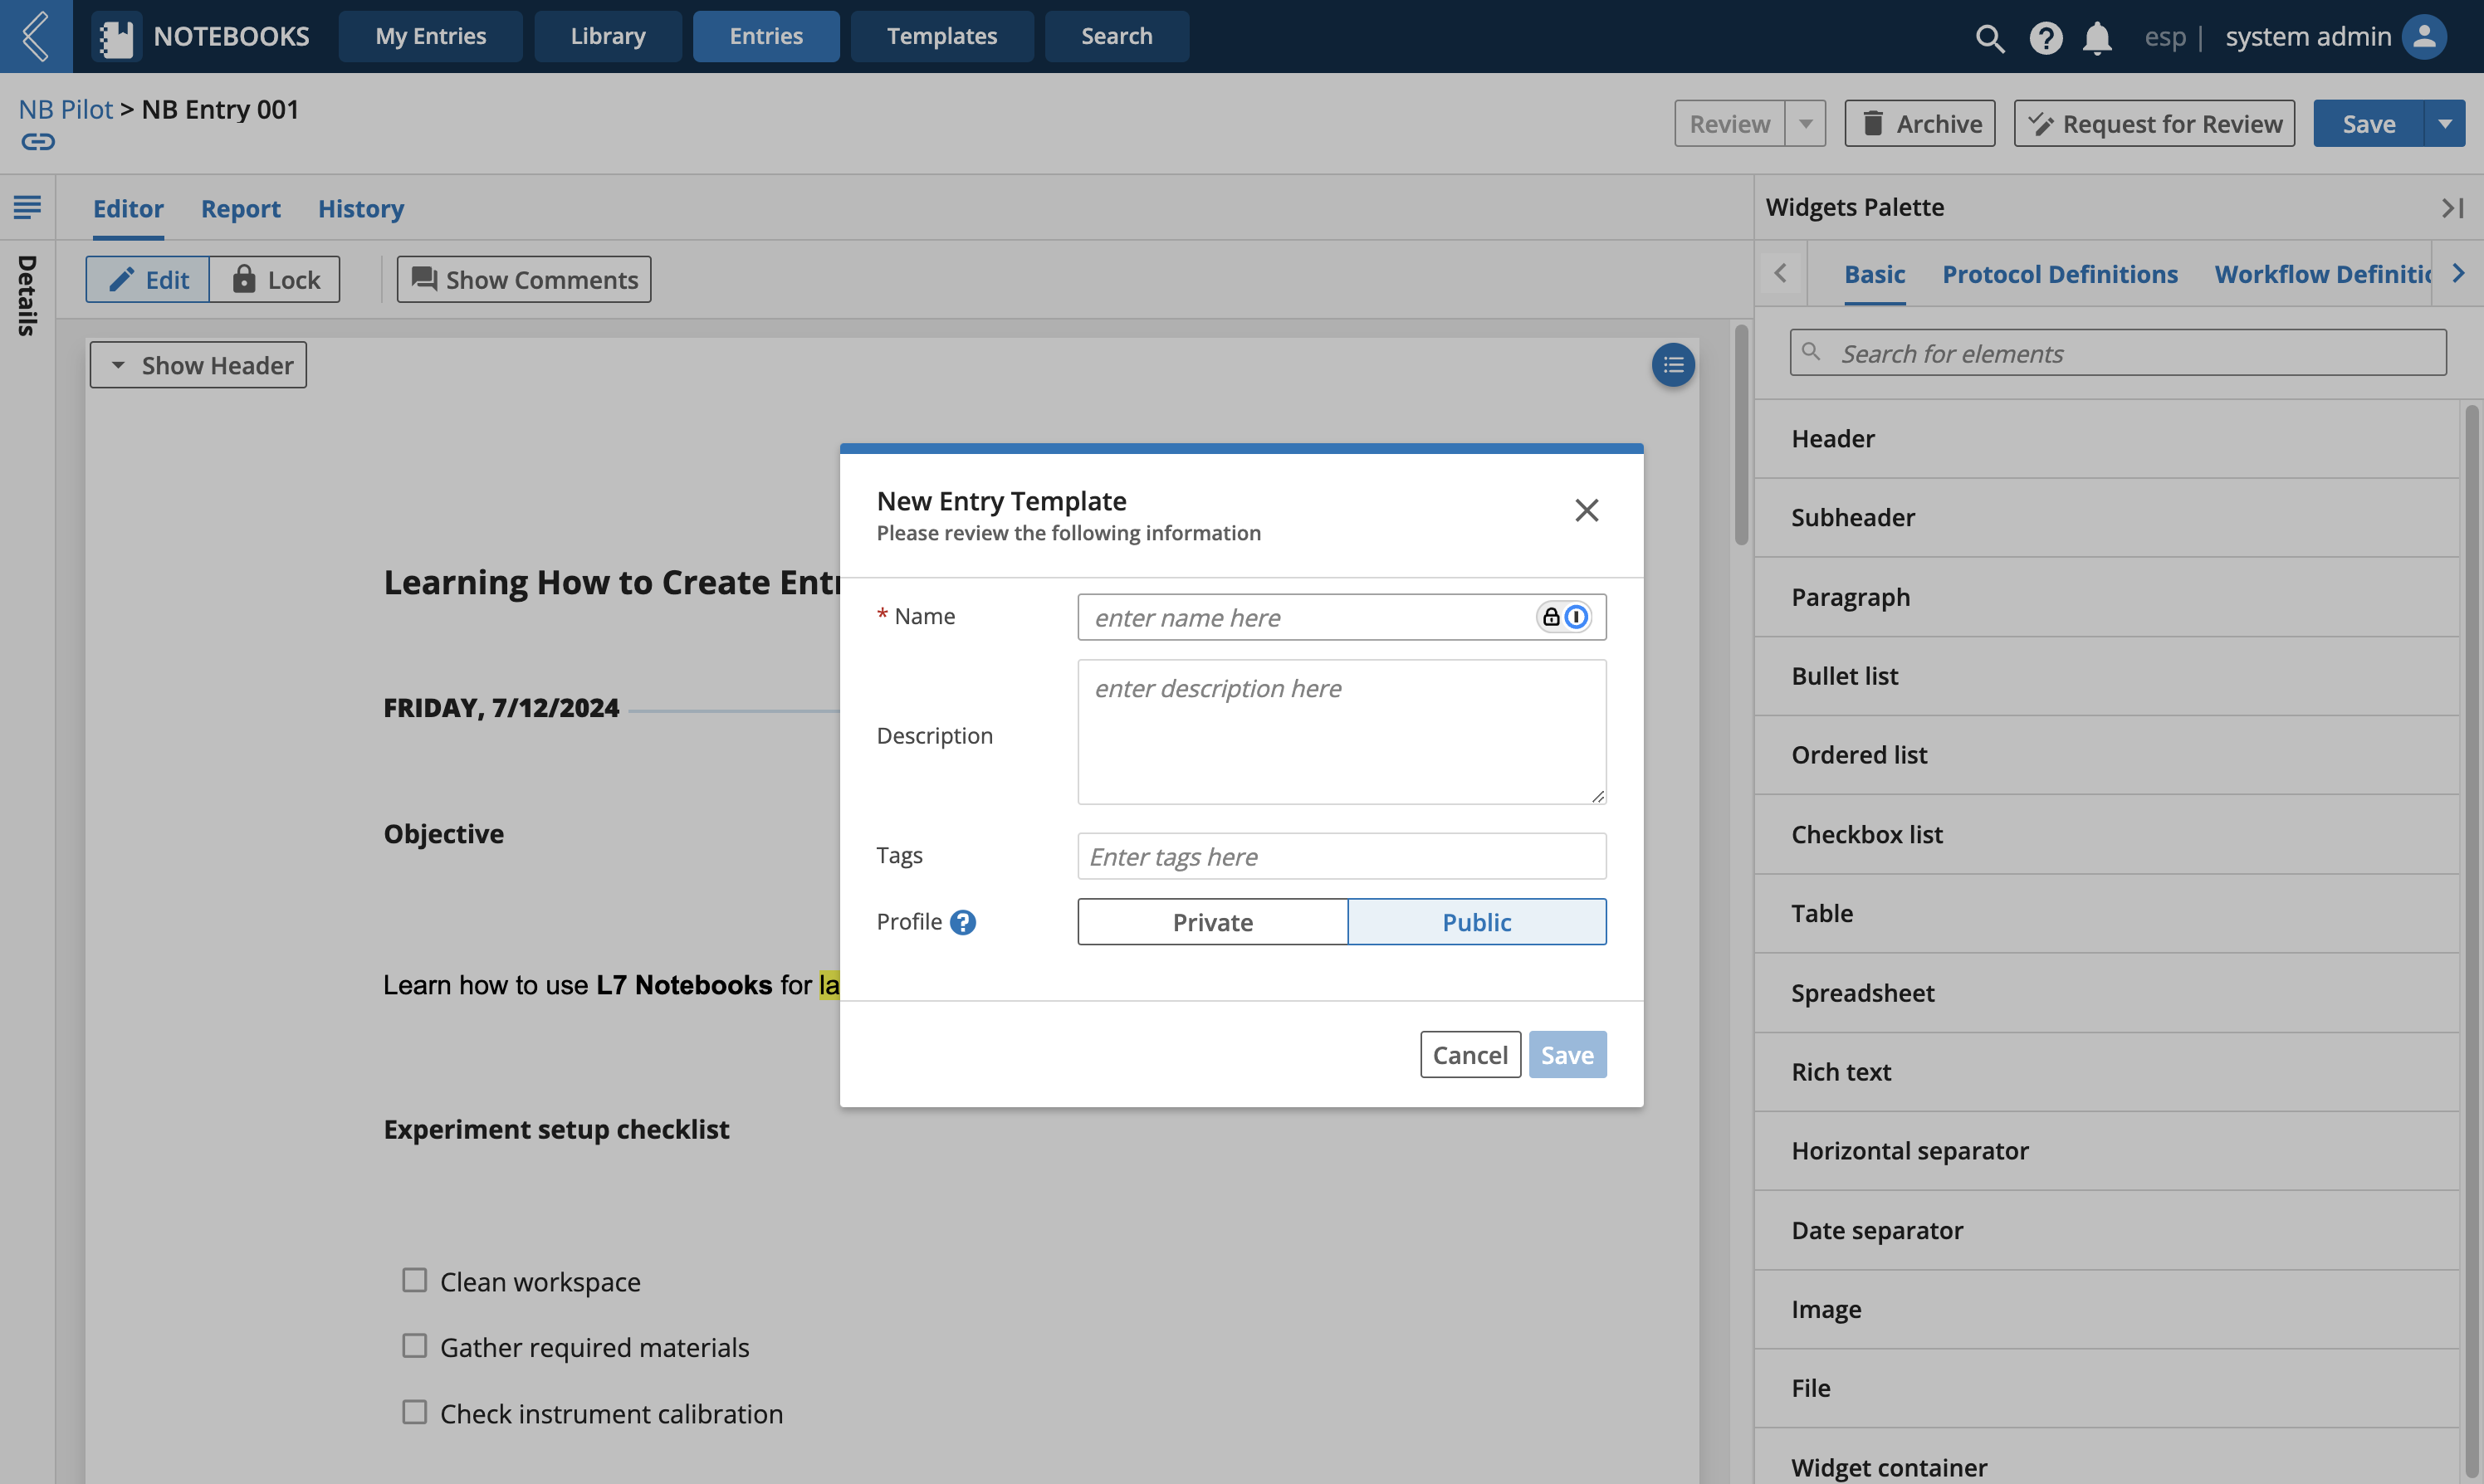
Enter a Name
Optionally provide a Description and Tags
Set the Profile as Private (only available to the Template owner) or Public (available to all users)
Save
 |
 |