Modeling Standard Protocols
Goals
Know what Standard Protocols are and when to use them.
Know how to create new Protocols.
Key Terms
Term | Definition |
|---|---|
Protocol | Sequence of steps performed on an Entity. Protocols define the data to collect while performing the Experiment. |
Standard Protocol | Associates experimental (process) data with an Entity. |
How to create new Protocols
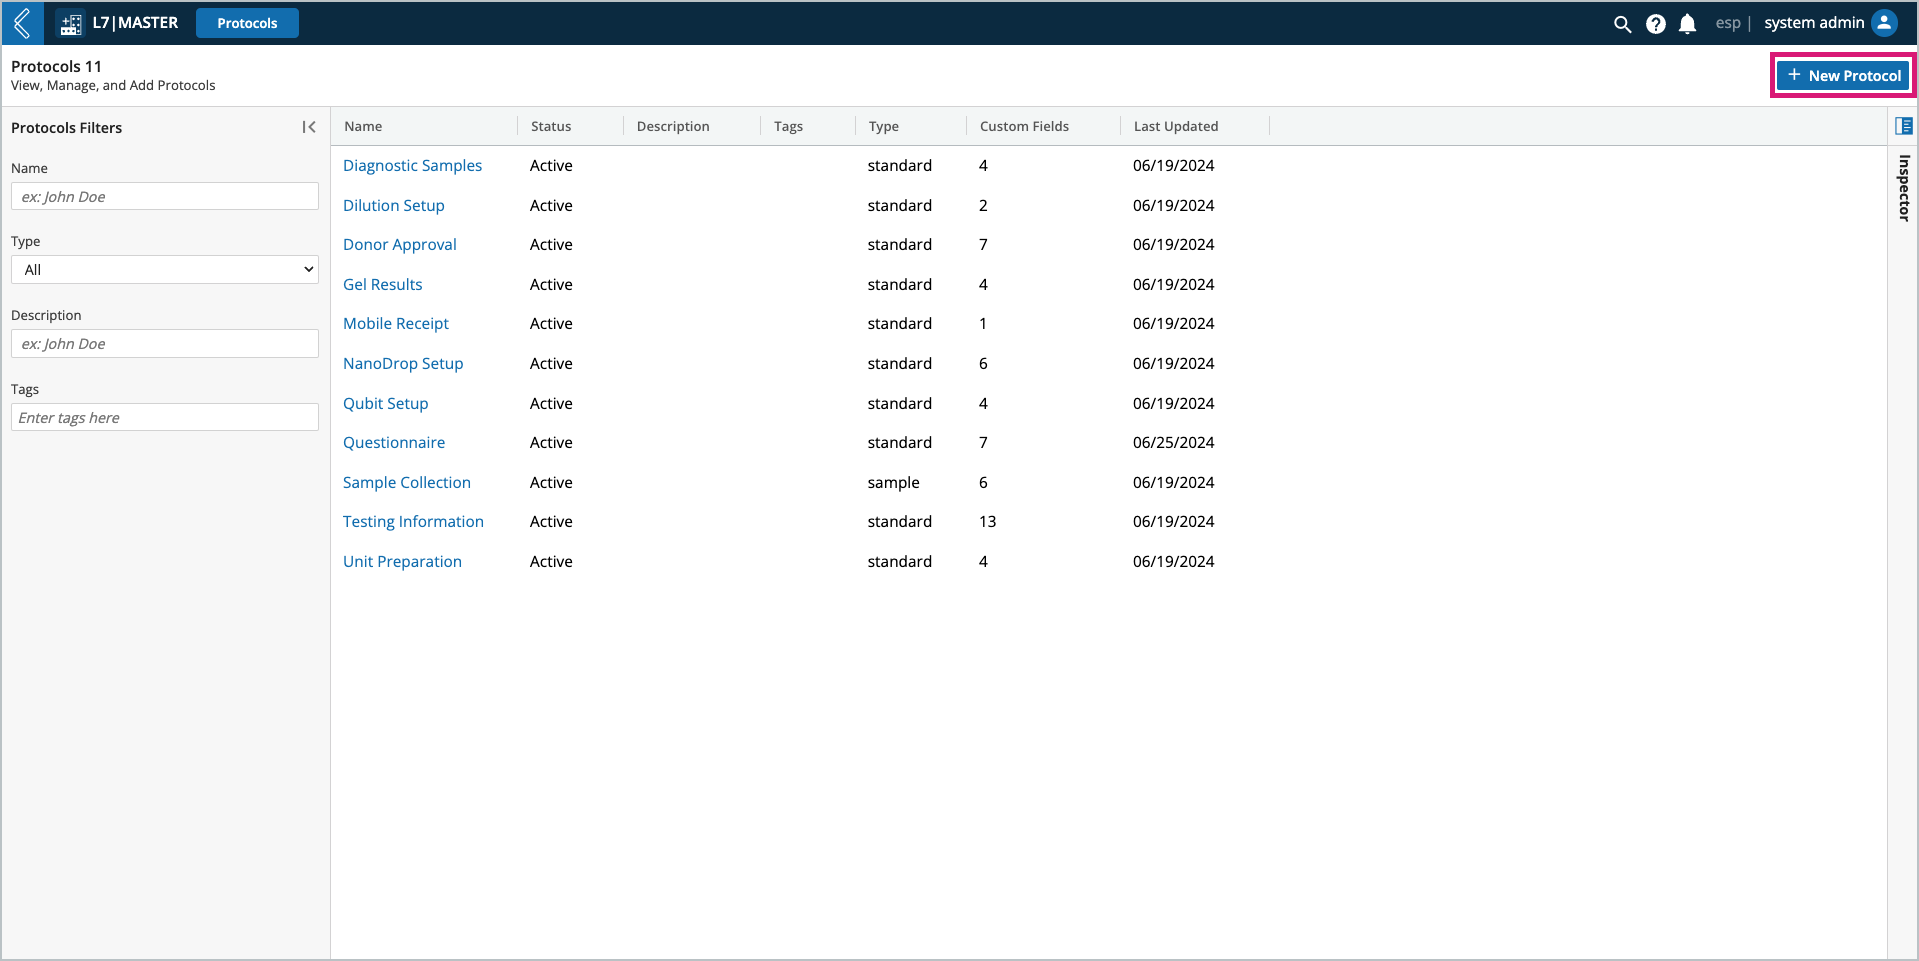
Go to: L7|Master → Protocols → + New Protocol
Protocol Details
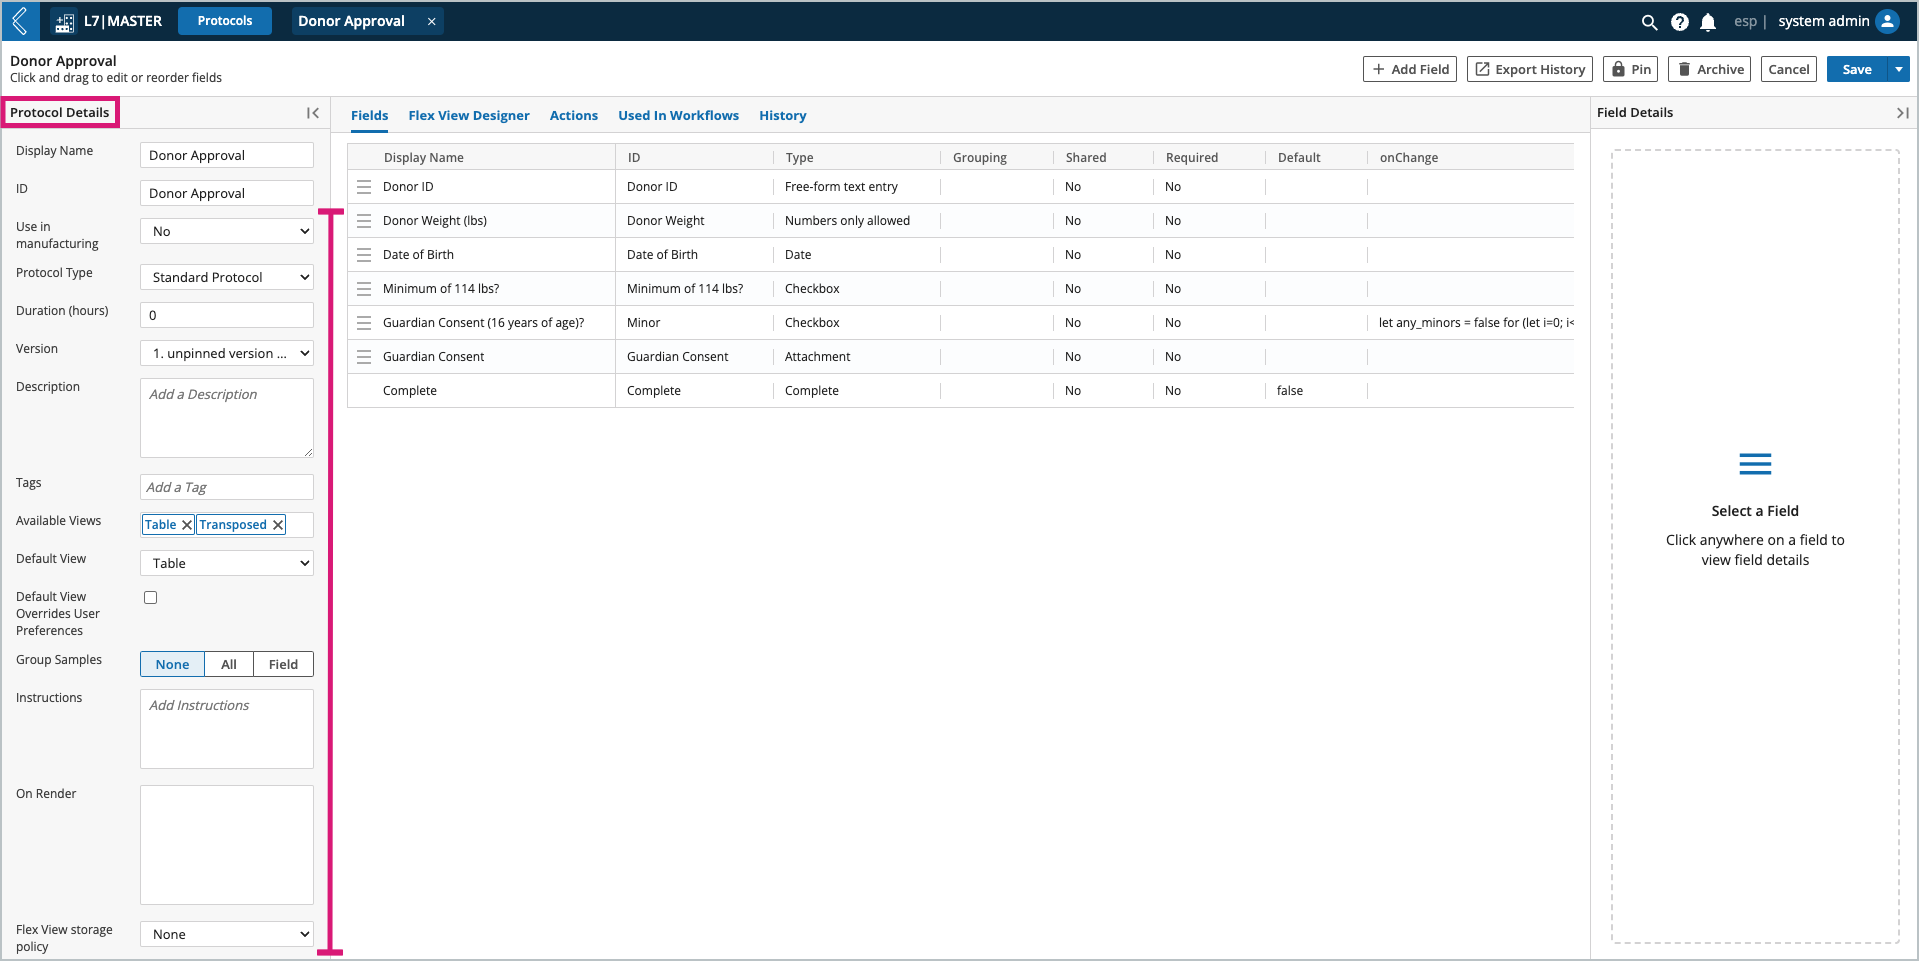
Use in manufacturing – should be set to “No” for Protocols that will be used in L7 LIMS.
Protocol Type – standard, sample, or pipeline.
Duration (hours) – the time it takes to complete the Protocol.
This detail is used in L7 Scheduling.
Version – a new version of the Protocol is created each time it is saved.
Pin – locks the Protocol into a previously saved version for explicit use in Workflows.
Available (LIMS) Views – multi-select picklist with the options Table, Transpose, Document, and Flex.
Note
A Flex View must be created by a Developer for the Protocol to use this view.
Document view is disabled by default. Enable lims_document_view in the feature_flags Configuration.
Default View – one (1) of the available views can be set as the default view in L7 LIMS.
Default View Overrides User Preferences – if selected, the Protocol will be displayed in the default view; otherwise, the Protocol will honor the view used by the previous Protocol.
Group Samples – when processing Standard and Pipeline Protocols in L7 LIMS, Entities can be ungrouped, grouped-by-all, or grouped by the selected read-only field.
Grouping is applied to all Entities and fields in the Protocol.
The shared toggle allows for field-level grouping in the Protocol (see below).
Instructions – plain text or formatted using the rich text editor in the expanded instructions window.
Protocol instructions appear under “Protocol Details” on the left side of the Worksheet.
See Adding Images to Instructions for more information
OnRender – custom behavior triggered when the Protocol renders in a Worksheet.
Note
onRender is covered in more detail here and in Client-Side Development.
To register, please visit L7 University.
Fields are individually completed for each Entity in the Worksheet.
Flex View Designer is used to transform Protocol data into reports, interactive charts, or any other custom view required for a Protocol. See section 3.4.2 of the User Documentation for more information.
Flex View Storage Policy – Flex Views can be transient or saved in a field of the Worksheet.
Actions – custom behavior triggered when a condition is satisfied while processing the Protocol.
Protocol Actions are covered in more detail here.
Custom Fields
Like all three (3) Protocol types, Standard Protocols have the default Complete field displayed as the last field in the Protocol. In Standard Protocols, all fields before Complete are custom fields created to collect process-specific data.
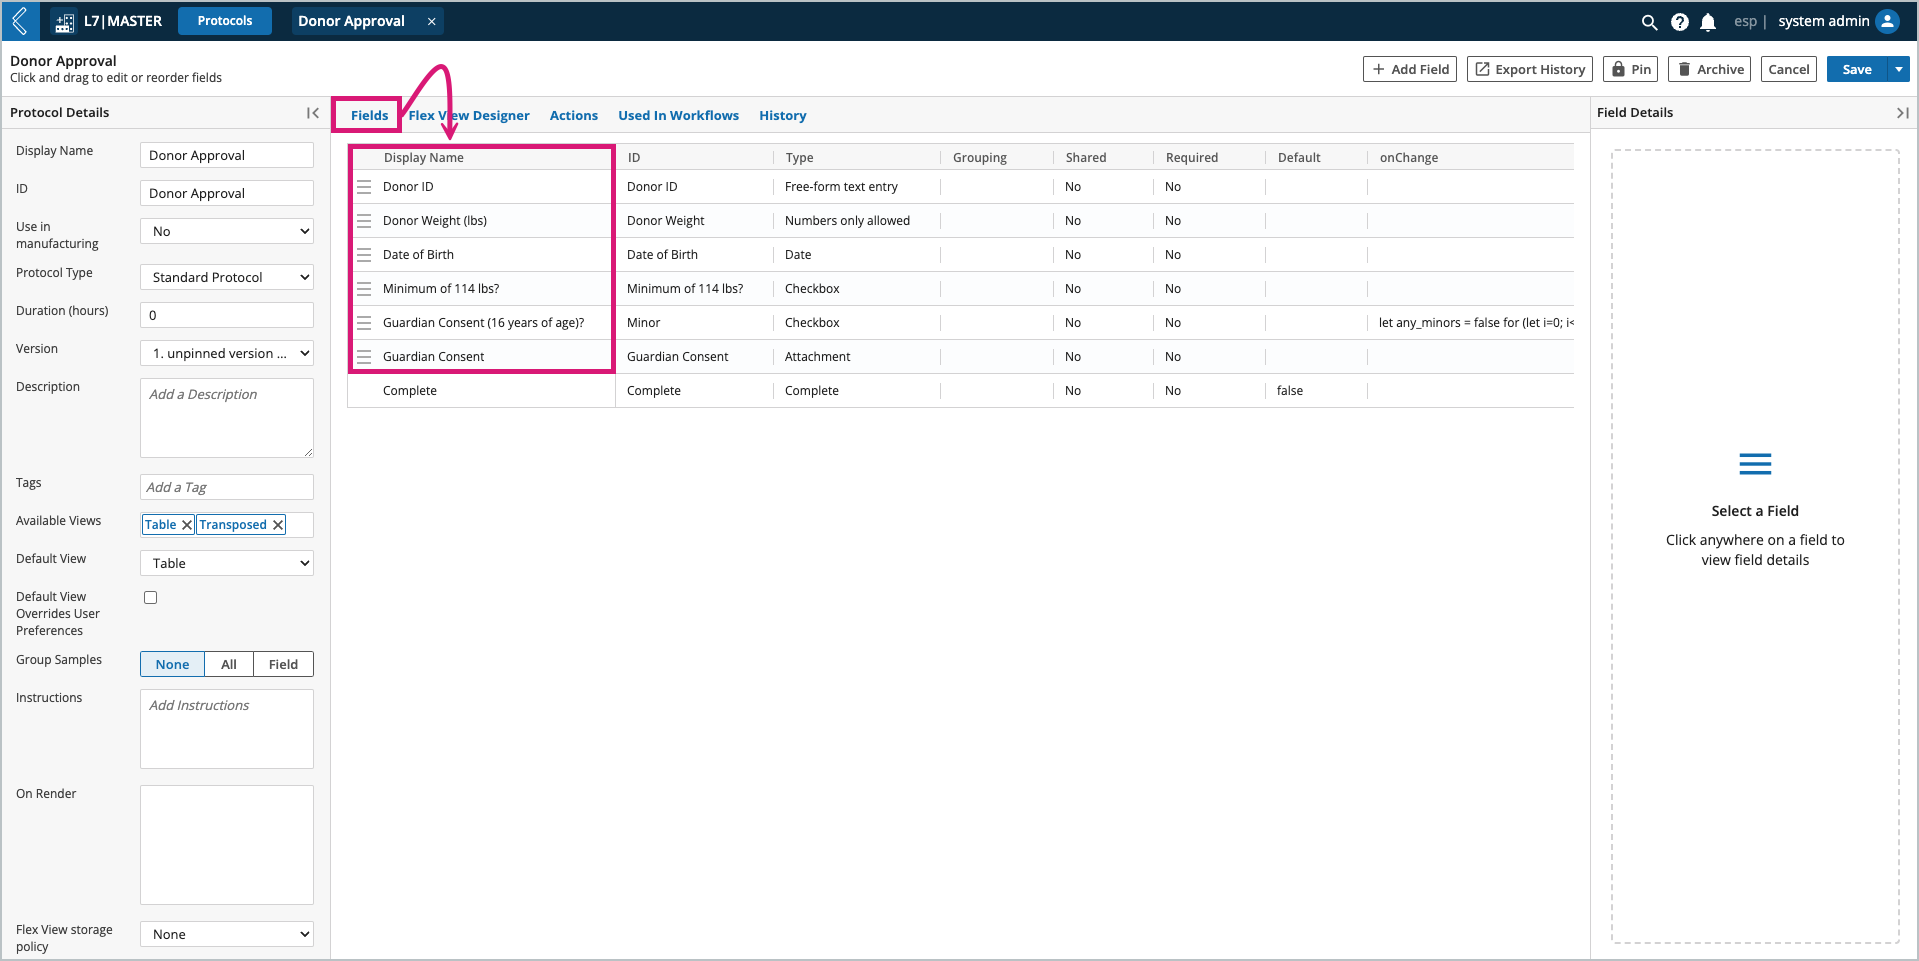
After you enter a Display Name and choose the Protocol Type, you can add custom fields to the Protocol. Over a dozen different field types are available in L7|ESP.
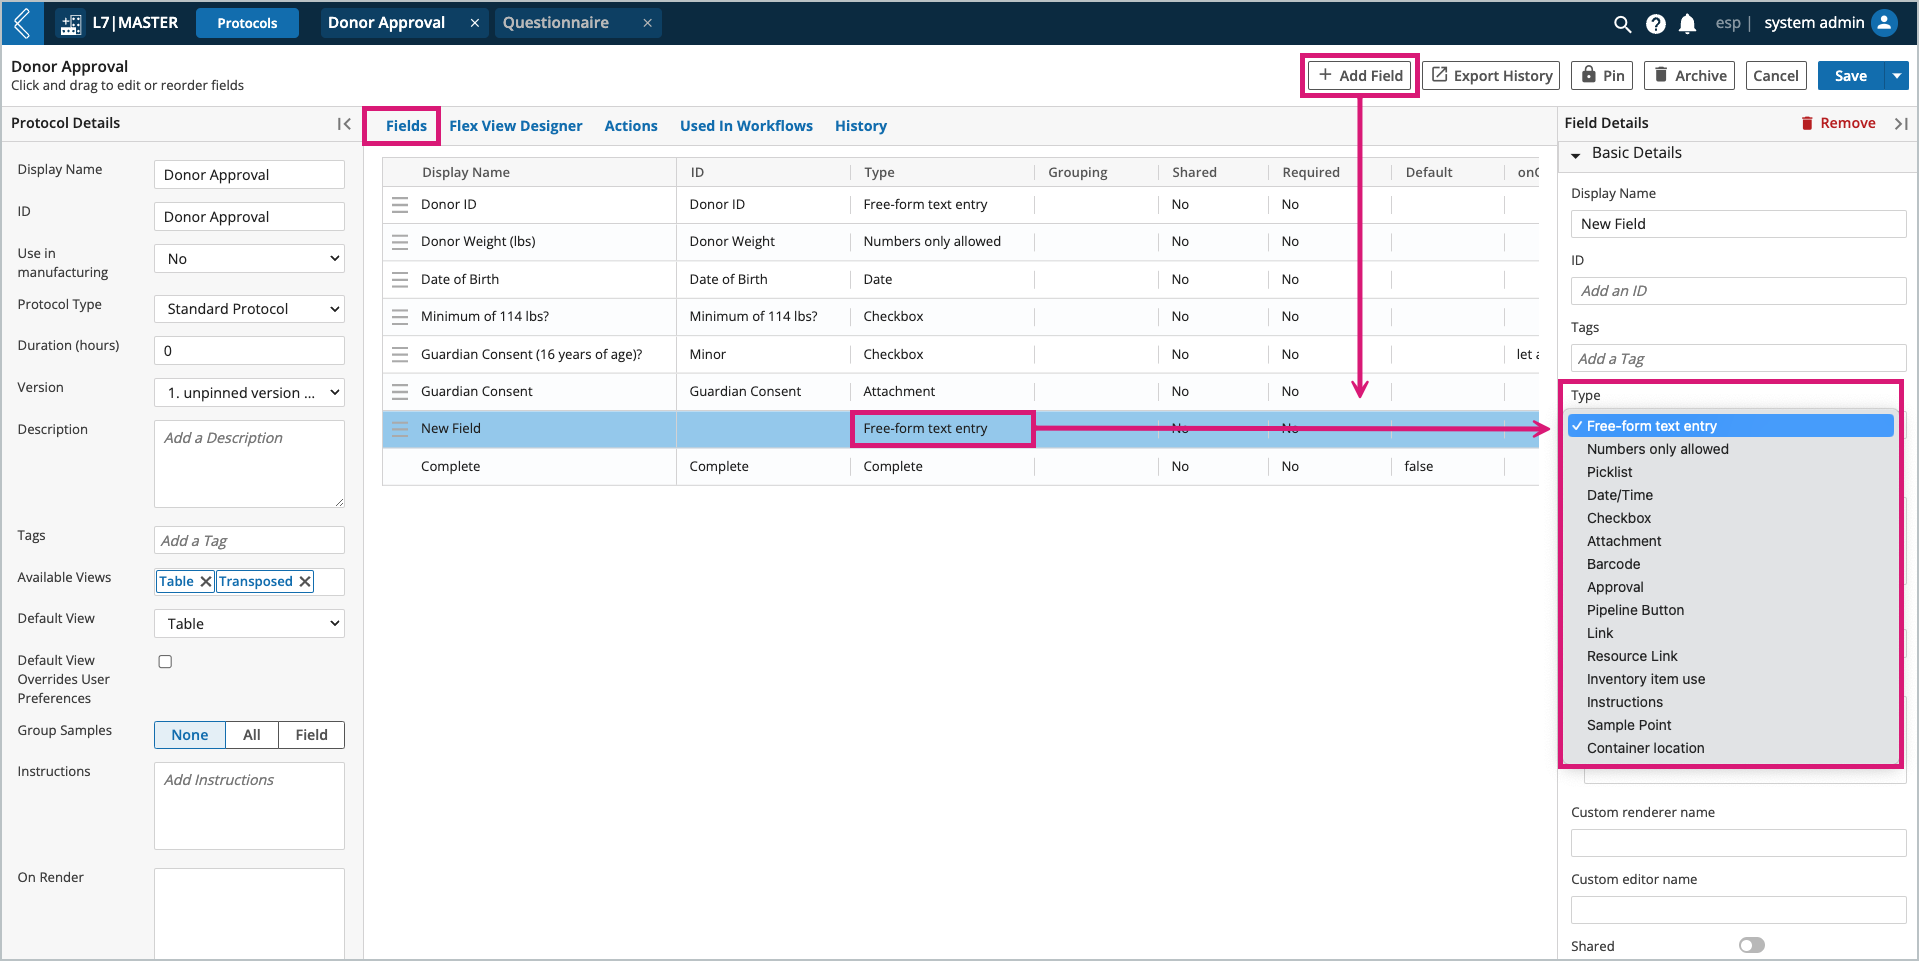
In the Field Details panel, the basic details are generally the same for all field types. They allow you to:
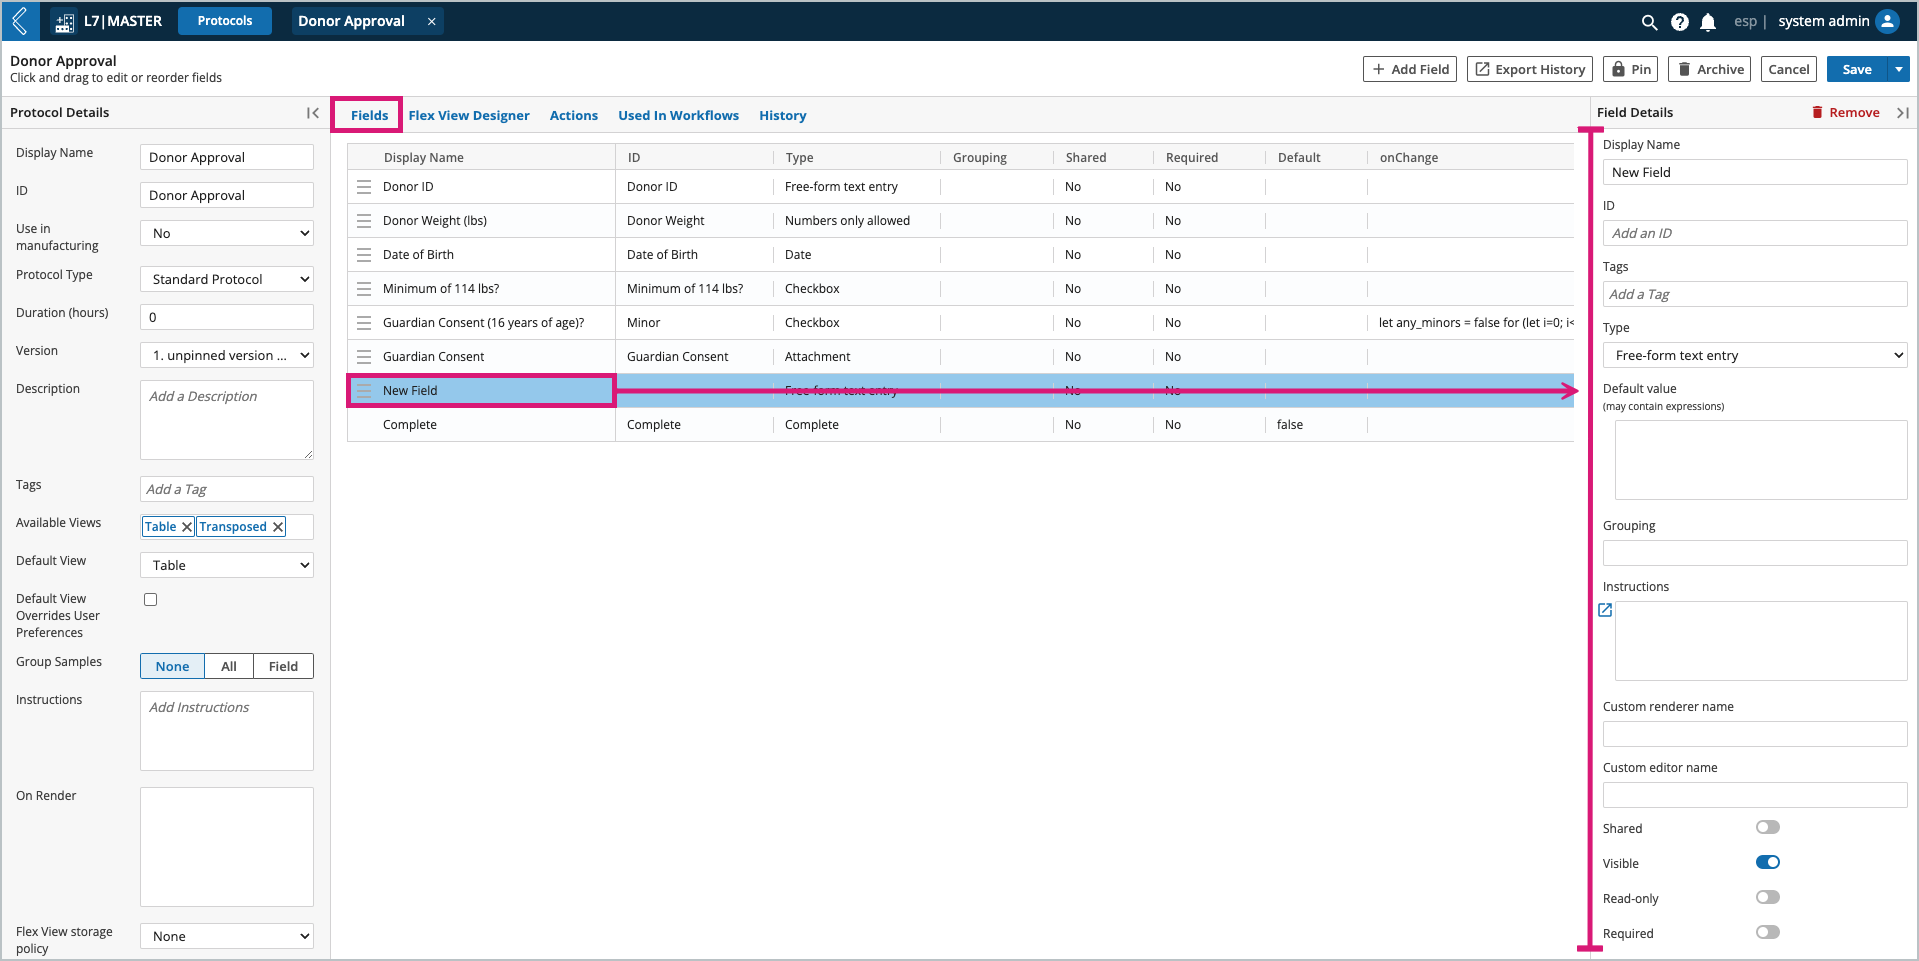
Name the field.
Note
Display Name vs. ID: Display Name is the name that appears in the user interface (UI). ID is a fixed value used to reference the field. This differentiation ensures stability when changing the name of a custom resource field.
L7|ESP will set the Display Name as the ID if the user does not define the ID themselves.
Define the field type.
Assign a default value (static value or Python expression).
Organize shared fields into groups (tabs) when executing the Protocol in a Worksheet.
Note
Field-level instructions are only displayed in Document view.
Make the field shared if:
A Pipeline should only be executed once for all Entities in the Protocol.
One (1) value should be recorded for all Entities in the Protocol.
Shared values are assigned to each Entity individually in the audit log.
Hide the field if:
It should be conditionally visible.
It has a default value and is irrelevant to the End User (Expression or Pipeline parameter).
Make the field read-only if:
It has a computed value and should not be editable (data integrity).
Make the field required if:
A value must be recorded, either as part of the business process or data dependencies in L7|ESP.
Note
The reportable toggle is used in L7|Intelligence.
Exceptions to basic field details:
Approval fields cannot be shared, hidden or made read-only, and are required by default.
Container location cannot be a shared field.
Instruction fields cannot have a default value because they do not have any data associated with them.
Link fields are always read-only.
Link to Task File is a field type unique to Pipeline Protocols.
Text fields can also be assigned a custom editor and custom renderer.
Custom Editor – introduces new functionality to a free-form text field. The “Rich Text” toggle is an out-of-box example.
Custom Renderer – formats the displayed value of a free-form text field. Values for numeric fields are not formatted by default, but can be rendered as a percentage or currency.
Event Handler onChange – custom behavior triggered when a field value changes. This includes entering a value for the first time.
Note
onChange is covered in more detail here and in Client-Side Development.
To register, please visit L7 University.
Field Parameters
Field parameters are dependent on the field type, see the table below for more information.
Field Type | Parameters |
|---|---|
Free-form text entry – enter any character (both text and numbers allowed). | Rich Text turns a plain text field into a rich text editor.  |
Numbers only allowed – enter any number. | Format - percentages should be recorded as decimal values. L7|ESP will automatically convert 0.85 to 85%. Precision Type - optionally select decimal places or significant figures; along with the desired Digits. NOTE: Precision only impacts the displayed value. The underlying value is never changed in the database, which means by default calculations referencing this field will use the database value, not the displayed value. Min and Max Limit - set the acceptable range of values Type - Soft limits don't prevent users from going forward in the process. Hard limits do prevent users from entering an out of range value. Notify Group - select a Workgroup to notify immediately when an out of range value is entered (notified via bell icon and toast notification) 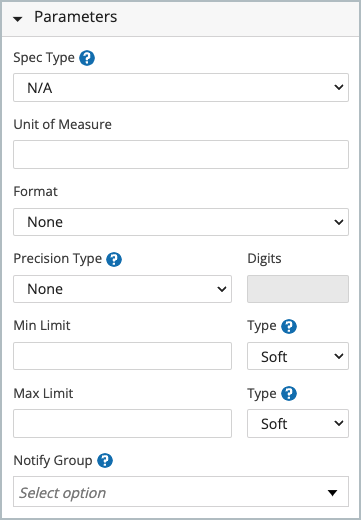 NoteSpec Type and Unit of Measure are not support in L7 LIMS. |
Picklist – select one (1) or more static or dynamic options. | 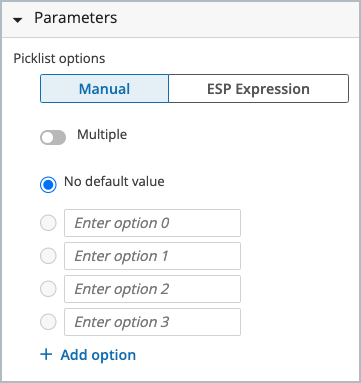 |
Date/Time – select a date and/or time in predefined or custom formats. | 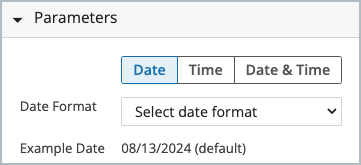 |
Checkbox – boolean true or false. | N/A |
Attachment – attach one (1) or more files with predefined or custom extensions. | 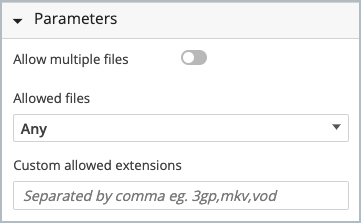 |
Barcode – capture data as a barcode (1D, mini data matrix, or QR). | Entity barcode assigns the value as the Entity’s barcode. * This is the Entity being processed when the barcode is collected. 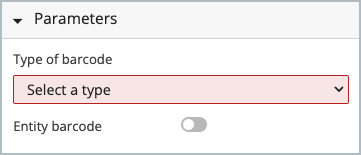 |
Approval – enter an electronic signature | See Modeling Signature Flows to learn more 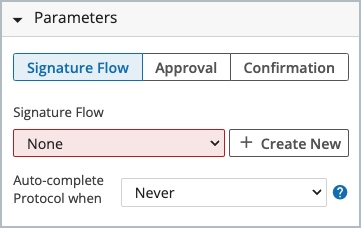 |
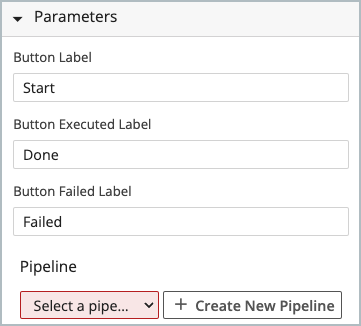
Pipeline Button – execute a Pipeline (computational task) * Automate manual taks, data egress and ingress | Select a Pipeline and define its variables. Pipeline – collection of Tasks (shell scripts) run on compute resources (cluster, cloud, or directly in L7|ESP).
 |
Link – access a URL inside or outside of L7|ESP. | N/A NoteLinks are written in the Default value field and use the following format:
TipIf you want to include a url link but do not want it to render in a custom field, then create an onRender using  |
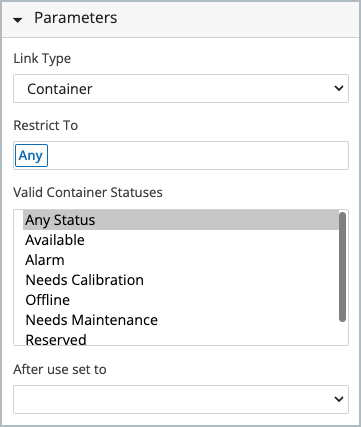
Resource link – link to another L7|ESP resource. | Link Type - defines what type of L7|ESP resource the field will link to
 |
Inventory item use – track Items and their consumption. | Record used quantity –allows users to record the quantity of the item being used. If deselected, the field will convert to a multi-select picklist, and only the Item name will be recorded in the Worksheet. Include expired items and Valid item statues - act as default filters applied when users interact with this field in the Worksheet Item tags - adds a tag to the inventory item being used How to display items – specifies how the item options will be displayed in the Item Usage modal (i.e. picklist of items showing their name or serial #)
Only use items within containers – restrict available inventory to Items stored in a location (e.g., kit); use the picklist to select which kit field to reference 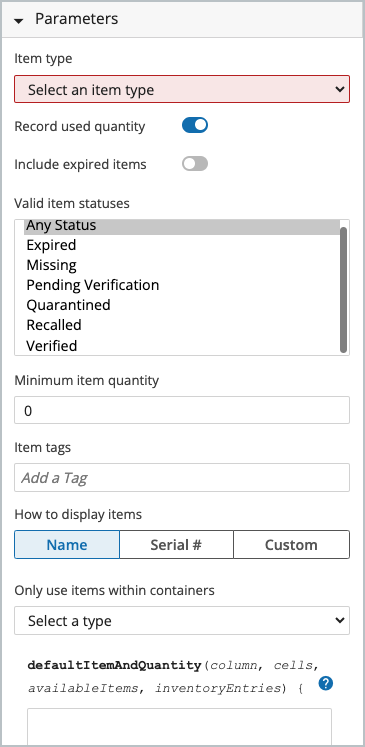 |
Instructions – process steps that do not require data collection. | Instructions are only displayed in Document view. |
Sample Point – create new Samples during production | See Sample Points to learn more. NoteUnlike Sample Protocols, Entities created using Sample Points do not become the active Entity in the Worksheet. 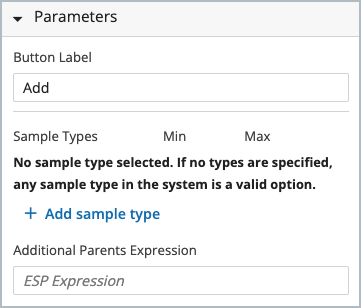 |
Equipment Use - track Equipment usage | Define the type of Equipment being used and filter the available Equipment options by their status. Equipment Type - the type of Equipment being used. Show Maintenance Records - if the selected Equipment Type has a Maintenance Schedule(s), then this feature will appear. Allows you to control which, if any, Maintenance Schedules appear under the maintenance records when users select a piece of Equipment. Valid Equipment Statuses - filter to only display Equipment with the selected statuses. Location fields - if the selected Equipment Type can contain assets, then this feature will appear. Allows you to attribute data to each location in the Equipment. See Modeling Equipment Types to learn more. 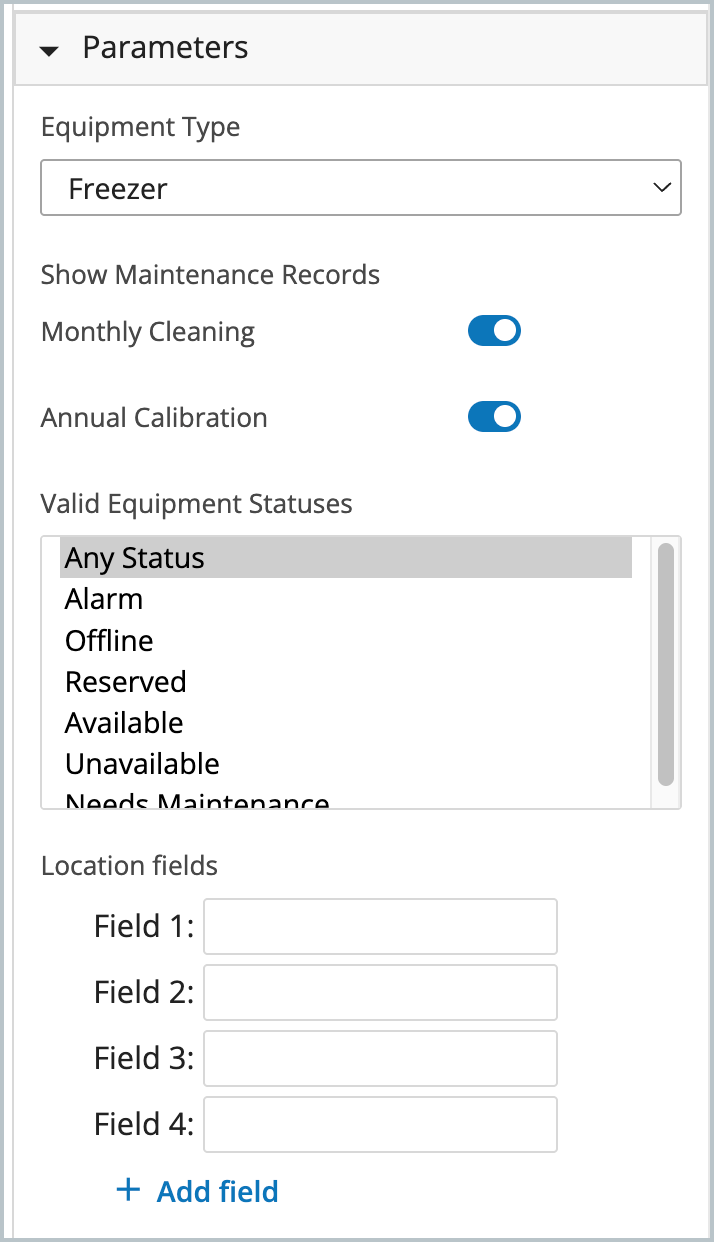 |
Container location – assign Entities to a location. | The Container Type must be configured to contain Entities or Items to appear in the picklist below. * Container hierarchies should be created in L7 Assets. Location fields attribute data to each location in the Container (e.g., dilution factor). 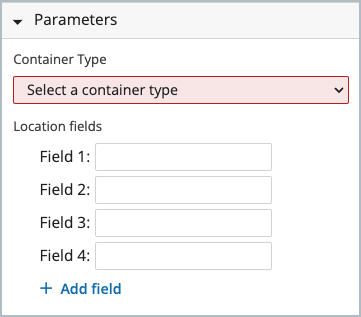 |